Nginx
You can configure Nginx settings on page. Configurable settings include:
-
SSL configuration
-
Allowed CIDR list (whitelist IP)
-
Response header.
Allowed CIDR list
The Allowed CIDR list field configures the CIDR list that are allowed to access Nginx.
The value for this field is a list of CIDR blocks separated by , commas.
By default, there are two CIDR blocks on the list: 0.0.0.0/0 and ::/0, for IPv4 and IPv6 respectively.
The default settings allow anyone with access to the Nginx port to access Nginx.

You can modify the allowed CIDR list to only allow hosts from a specific CIDR block to access Nginx. A CIDR block looks like a normal IP address except that it ends with a slash followed by a number, called the IP network prefix. A network prefix is an aggregation of IP addresses.
For example, 192.50.128.0/16 defines the first 16 bits of the IP address to identify the address aggregation. It includes every address from 192.50.0.0 to 192.50.255.255. If you put 192.50.128.0/16 in the allowed CIDR list, then every host with an IP address from 192.50.0.0 to 192.50.255.255 are allowed to access Nginx.
|
If you decide to change the allowlist, you should at least make sure that you allow requests from your own instance:
|
If you are unsure which CIDR block you want to allow, you can use an online tool to calculate the corresponding CIDR block for an IP range or vice versa.
Response header
The response header can be empty.
In addition, you can also add one by clicking the + on the right side of the response header box, or you can delete the specified one by clicking-on the right side of a response header.

SSL for Nginx
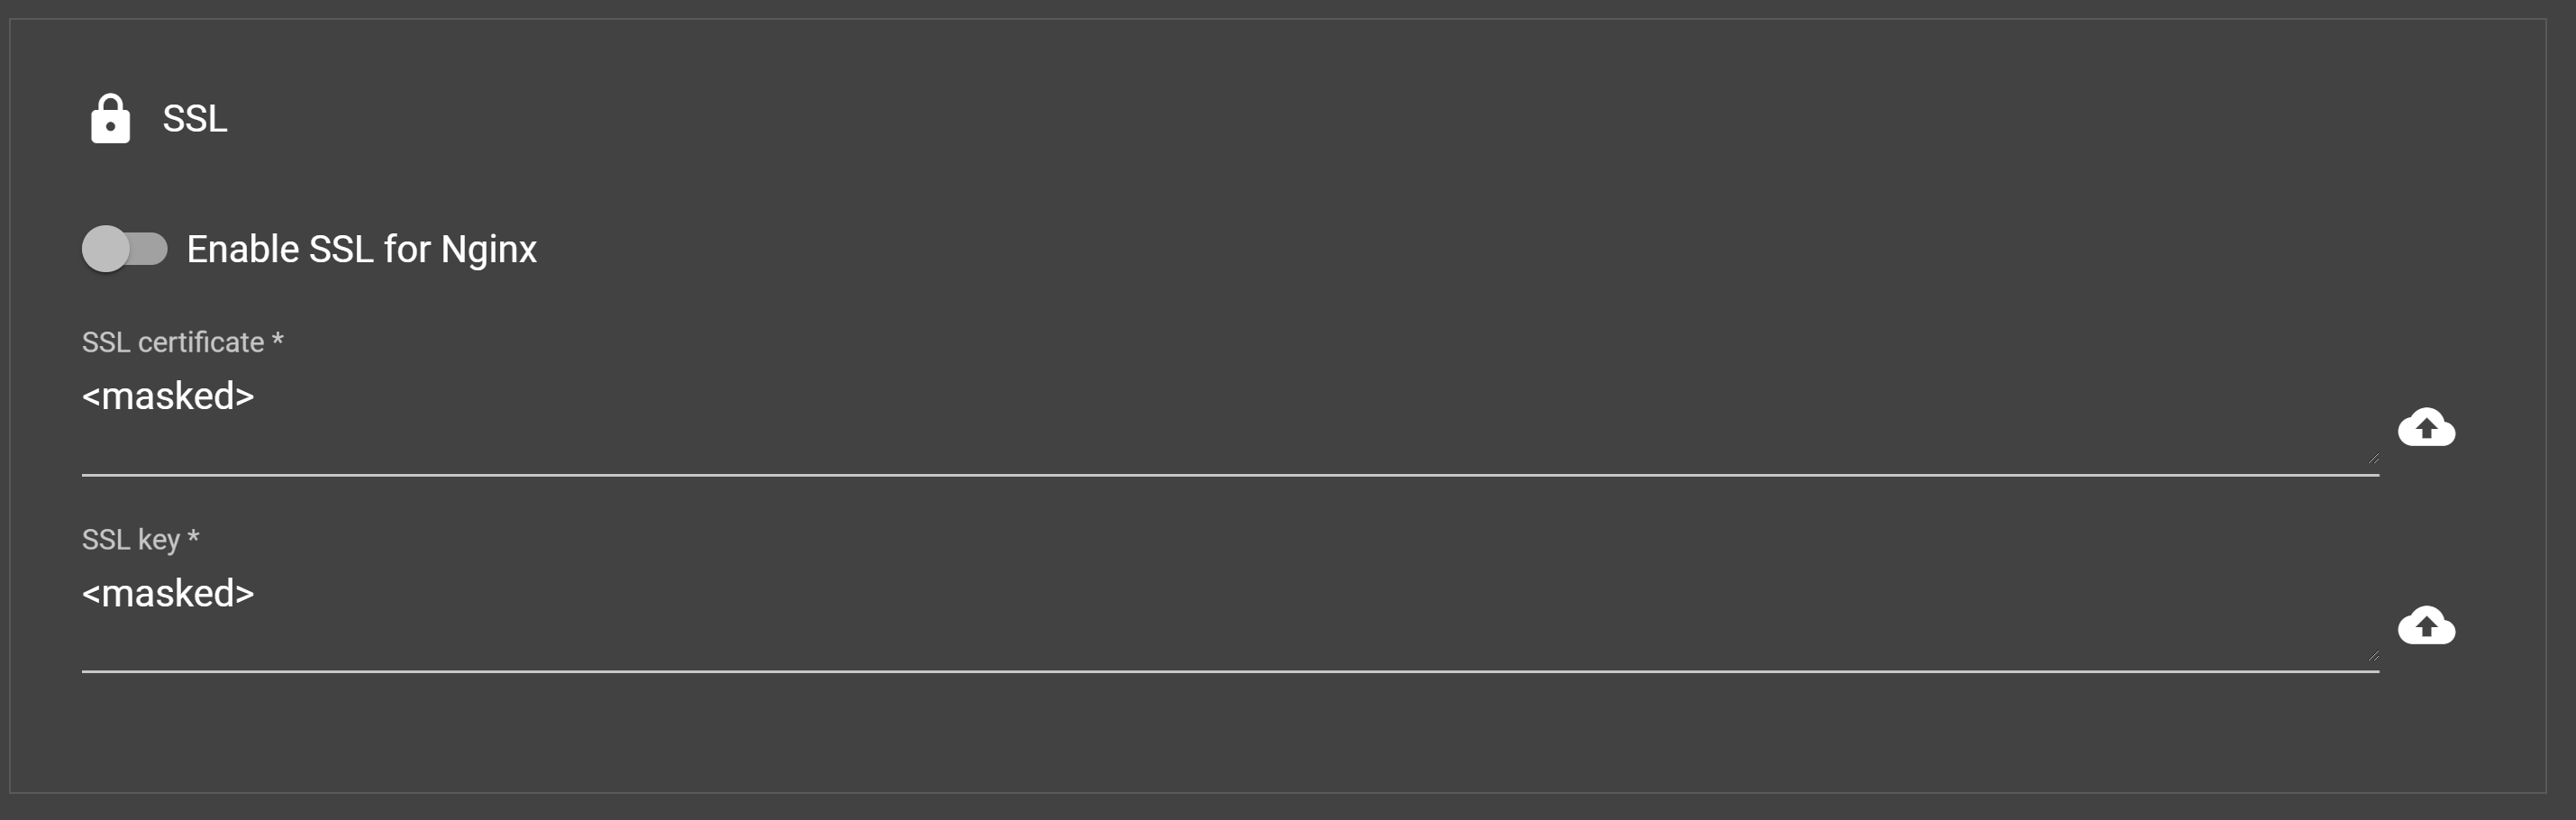
- SSL certificate
-
An SSL certificate is a data file hosted in a website’s origin server. SSL certificates make SSL/TLS encryption possible, and they contain the website’s public key and the website’s identity, along with related information.
- SSL key
-
The private key used for SSL.
You can provide the SSL certificate and SSL key in one of the following ways:
-
Uploading files.
-
Click the file upload button next to the input box, and a drop-down menu for uploading files will appear. Click the Upload file option to upload the desired file.
-
-
Providing manual input to self-sign.
-
Click the file upload button next to the input box, and a drop-down menu for uploading files will appear. Click Self Signed to fill in the information to generate a self-signed certificate. A self-signed certificate will be valid for a year.
-

Since configuration change requires restarting the server service, a pop-up box will appear to confirm whether to restart the service. After clicking the OK button, it will take a while for the configuration changes and server restart. You will be notified after all the process is completed.
|
Downgrading from HTTPS to HTTP (turn off SSL) will result in user authentication failure. If you are seeing authentication failure after turning off SSL in Chrome, clear the cache from Chrome and refresh the browser. |