Set up VPC Peering on AWS
This is a guide for setting up a VPC peering connection between your TigerGraph Cloud VPC and another AWS VPC.
2. Procedure
2.1. Initiate VPC peering
Log into the cloud portal and navigate to the Network tab on the left. Click Initiate VPC peering.
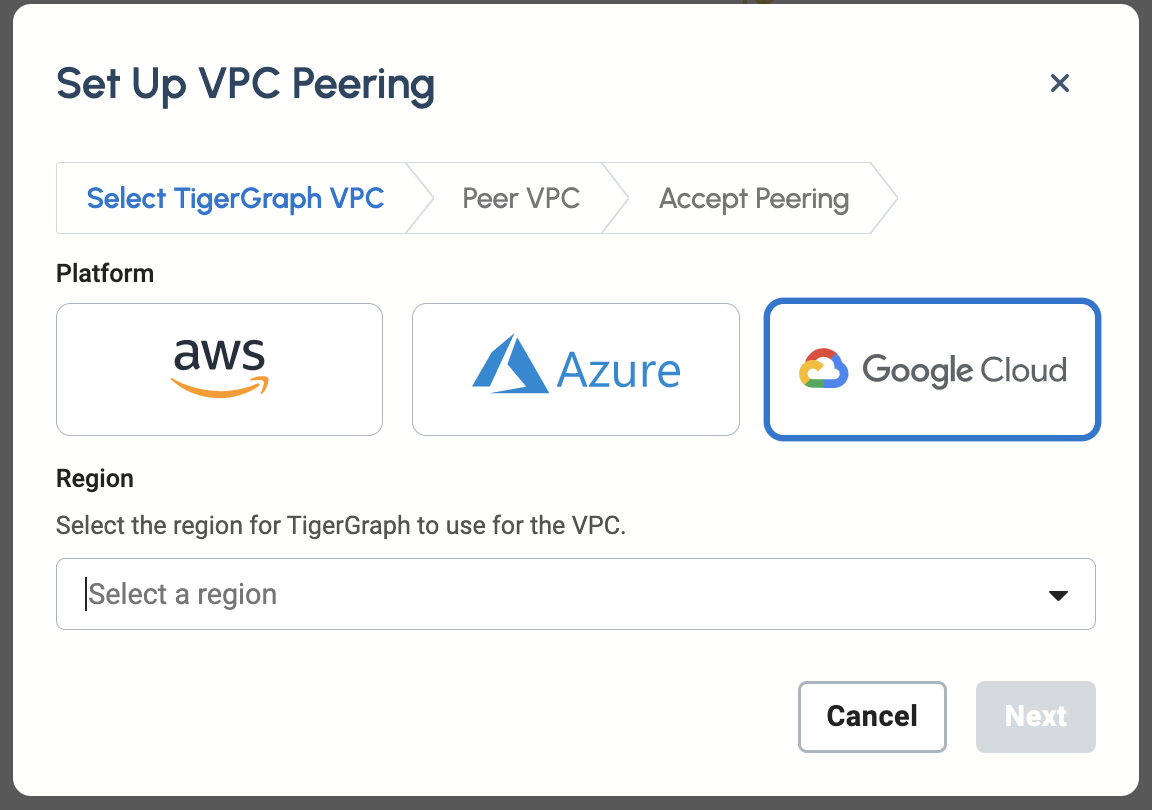
Choose AWS and enter a region such as us-west-1.
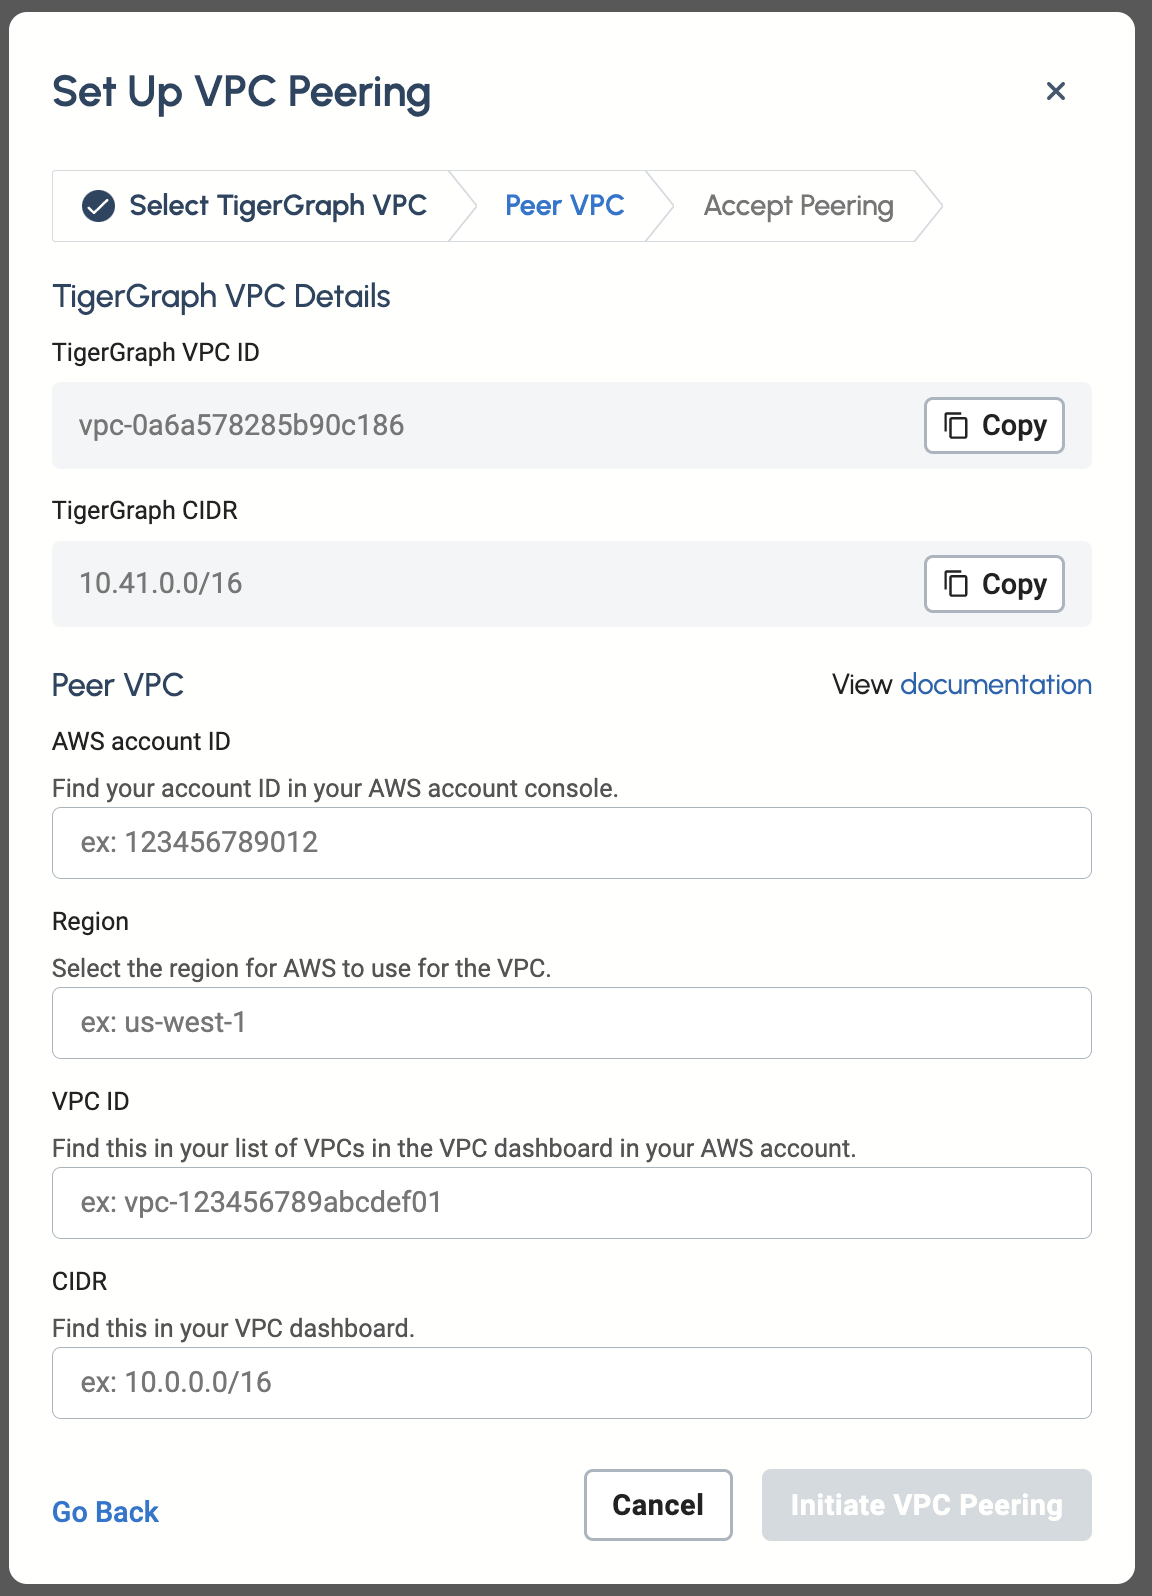
In the Peer VPC section, fill in the information of the VPC that you want to peer with:
-
AWS Account ID
-
The ID of the VPC owner’s AWS account.
-
-
Region
-
The region of the VPC you want to peer with.
-
-
VPC ID
-
The ID of the VPC from the AWS dashboard.
-
-
CIDR
-
CIDR-block of the peered VPC. You can also use an IPv6 CIDR here if your peered VPC has one.
-
Click Initiate VPC Peering.
2.2. Accept VPC peering request
TigerGraph then sends a VPC peering connection to your VPC. Follow the steps below to accept the peering connection on your AWS VPC. See more in AWS’s documentation on Accepting VPC Peering Connections.
-
Go to in the AWS web console
-
Accept the connection from the TigerGraph VPC
2.3. Update route table for VPC peering connection
After accepting the peering request, you still need to update your route table for the peering connection.
To add a route for a VPC peering connection:
-
Open the Amazon VPC console at https://console.aws.amazon.com/vpc/.
-
In the navigation pane, choose Route Tables.
-
Select the checkbox next to the route table that’s associated with the subnet in which your instance resides.
-
Choose .
-
Choose Add route.
-
For Destination, enter the CIDR block of the TigerGraph VPC you are peering with. You can find the CIDR block of the TigerGraph VPC at Peering Connections in the VPC service where you accepted the peering connection. There is a column "Requester CIDRs".
-
For Target, select the VPC peering connection, and then choose Save changes.