Set up VPC Peering on GCP
This is a guide for setting up a VPC peering connection between your TigerGraph Cloud VPC and another GCP VPC.
2. Procedure
2.1. Initiate VPC Peering
Log into the cloud portal and navigate to the Network tab on the left. Click Initiate VPC peering.
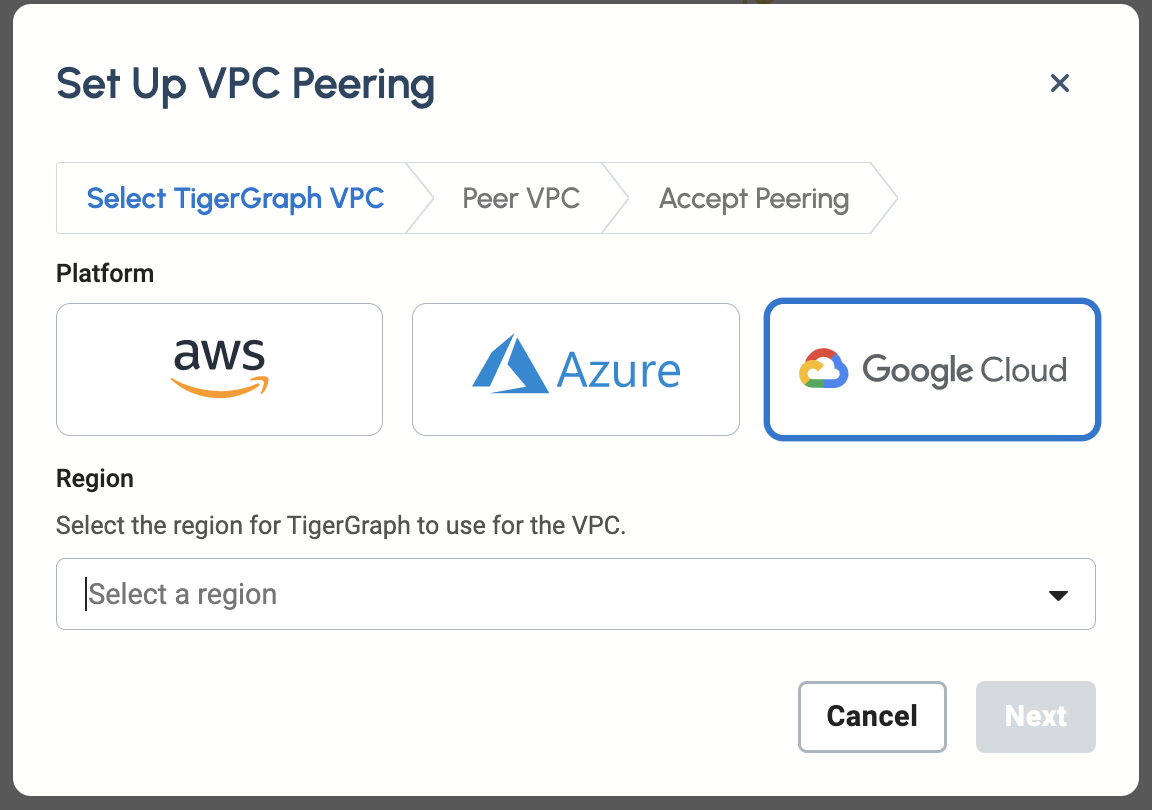
Select Google Cloud and a region, then click Next.
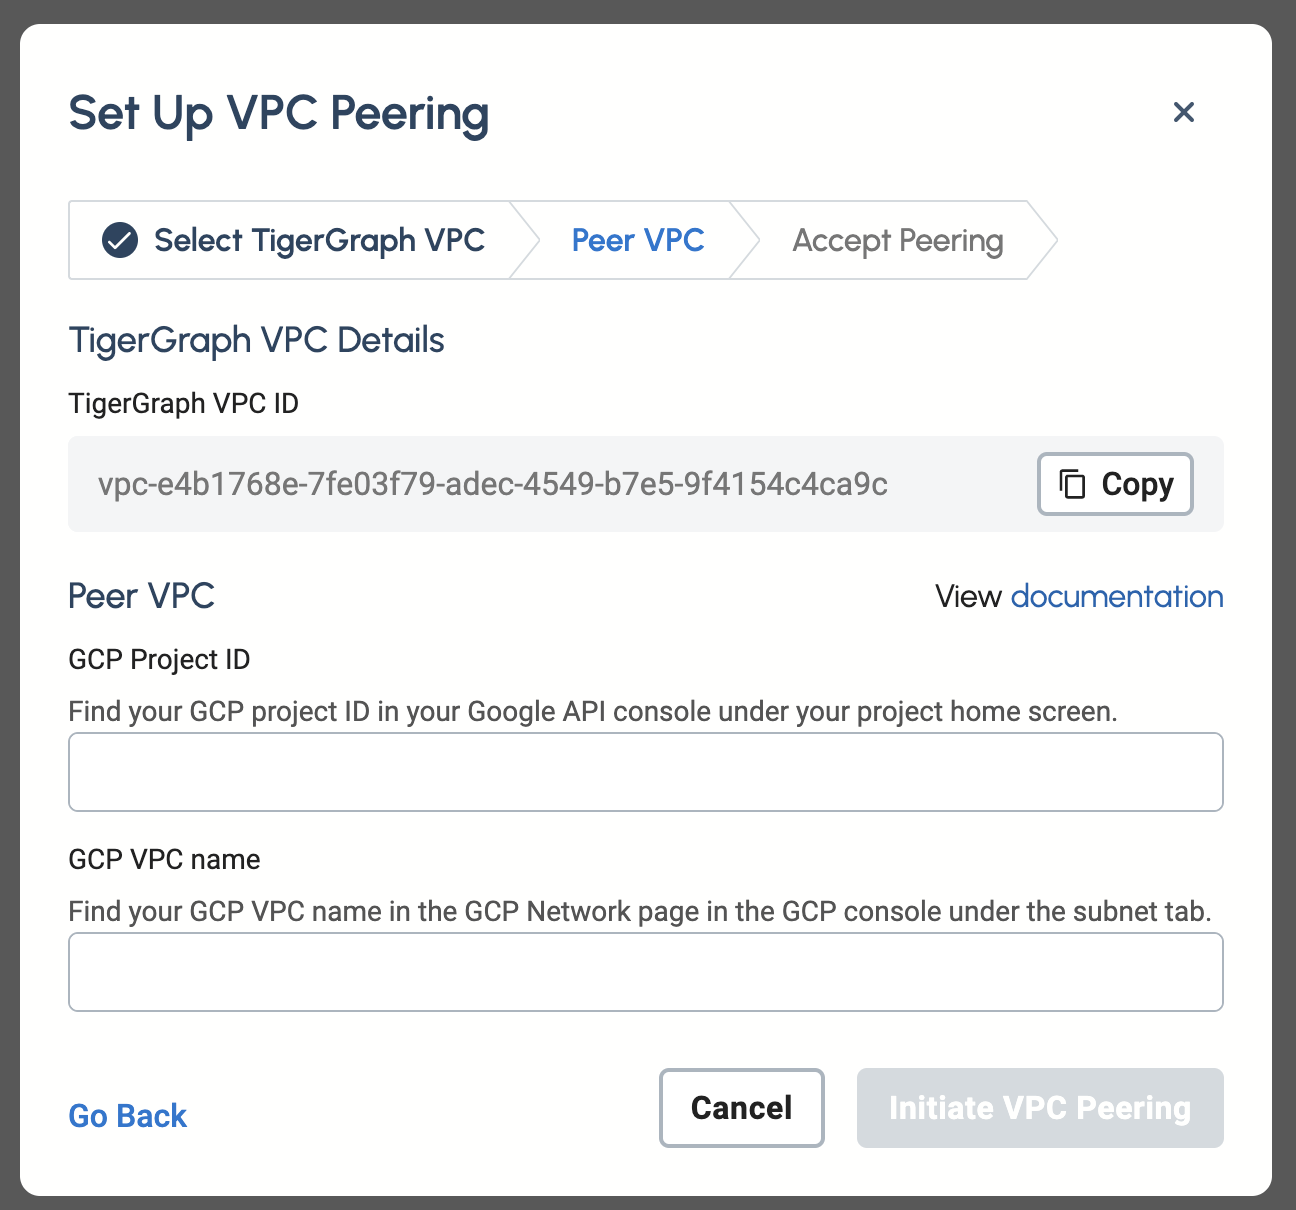
In the Peer VPC section, fill in the information of the VPC that you hope to peer with:
-
GCP Project ID
-
VPC Name
Click Initiate VPC Peering.
2.2. Create VPC peering connection from peered VPC to host VPC
Your TigerGraph VPC then creates a peering configuration to the VPC you hope to peer with. At this time, the peering connection will appear as Inactive. To complete the peering connection, your still need to create a matching peering configuration on your peered VPC to the TigerGraph VPC:
-
In the Google Cloud Console, go to the VPC Network Peering page. Go to VPC Network Peering
-
Click Create connection.
-
Click Continue.
-
Enter a Name for your peering connection.
-
Under Your VPC network, select a network you want to peer.
-
Select the TigerGraph network as the network to peer with.
-
Select In another project. You will need to specify the project ID that includes the network you want to peer with and the name of the VPC network:
-
Project ID:`tgcloud-prod`
-
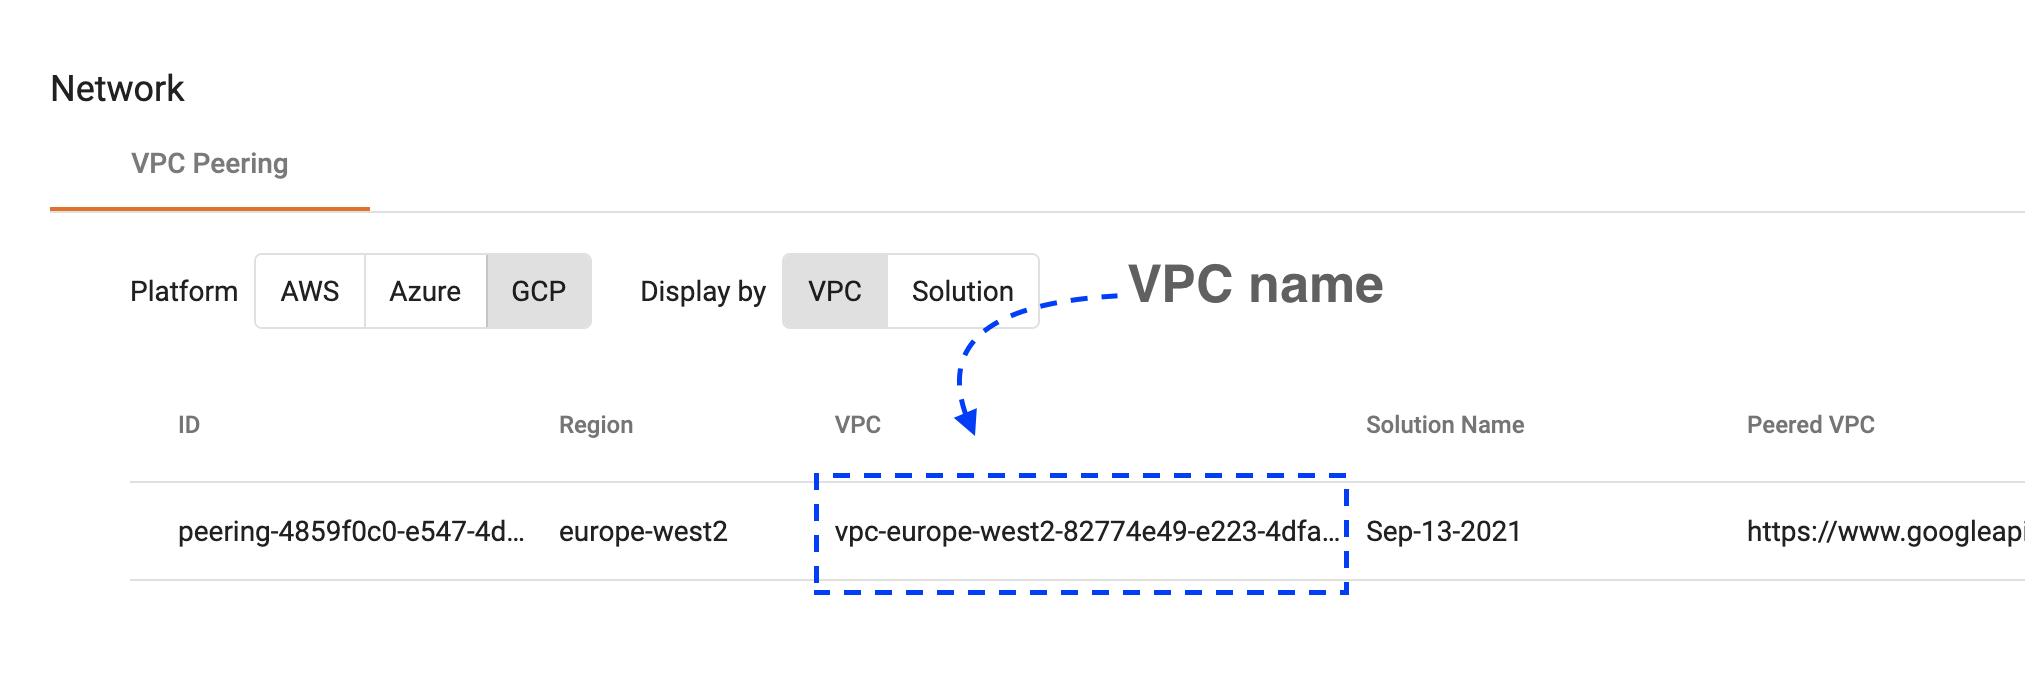
VPC network name: Name of your TigerGraph Cloud VPC. You can find it in the page. Choose
GCPas the platform, and in the VPC column is the VPC name.
-
-
-
You can leave the other fields as they are (with only Export subnet routes with public IP selected) unless you need special configurations.
-
Click Create.
After creating the matching peering configuration, the status of your VPC connection should change to Active meaning the two VPCs are peered successfully.