How to use the Self-Managed TigerGraph CoPilot
Using TigerGraph CoPilot self-managed service is intuitive and straight forward. Follow any of the five methods below.
Using A Self-Managed Service
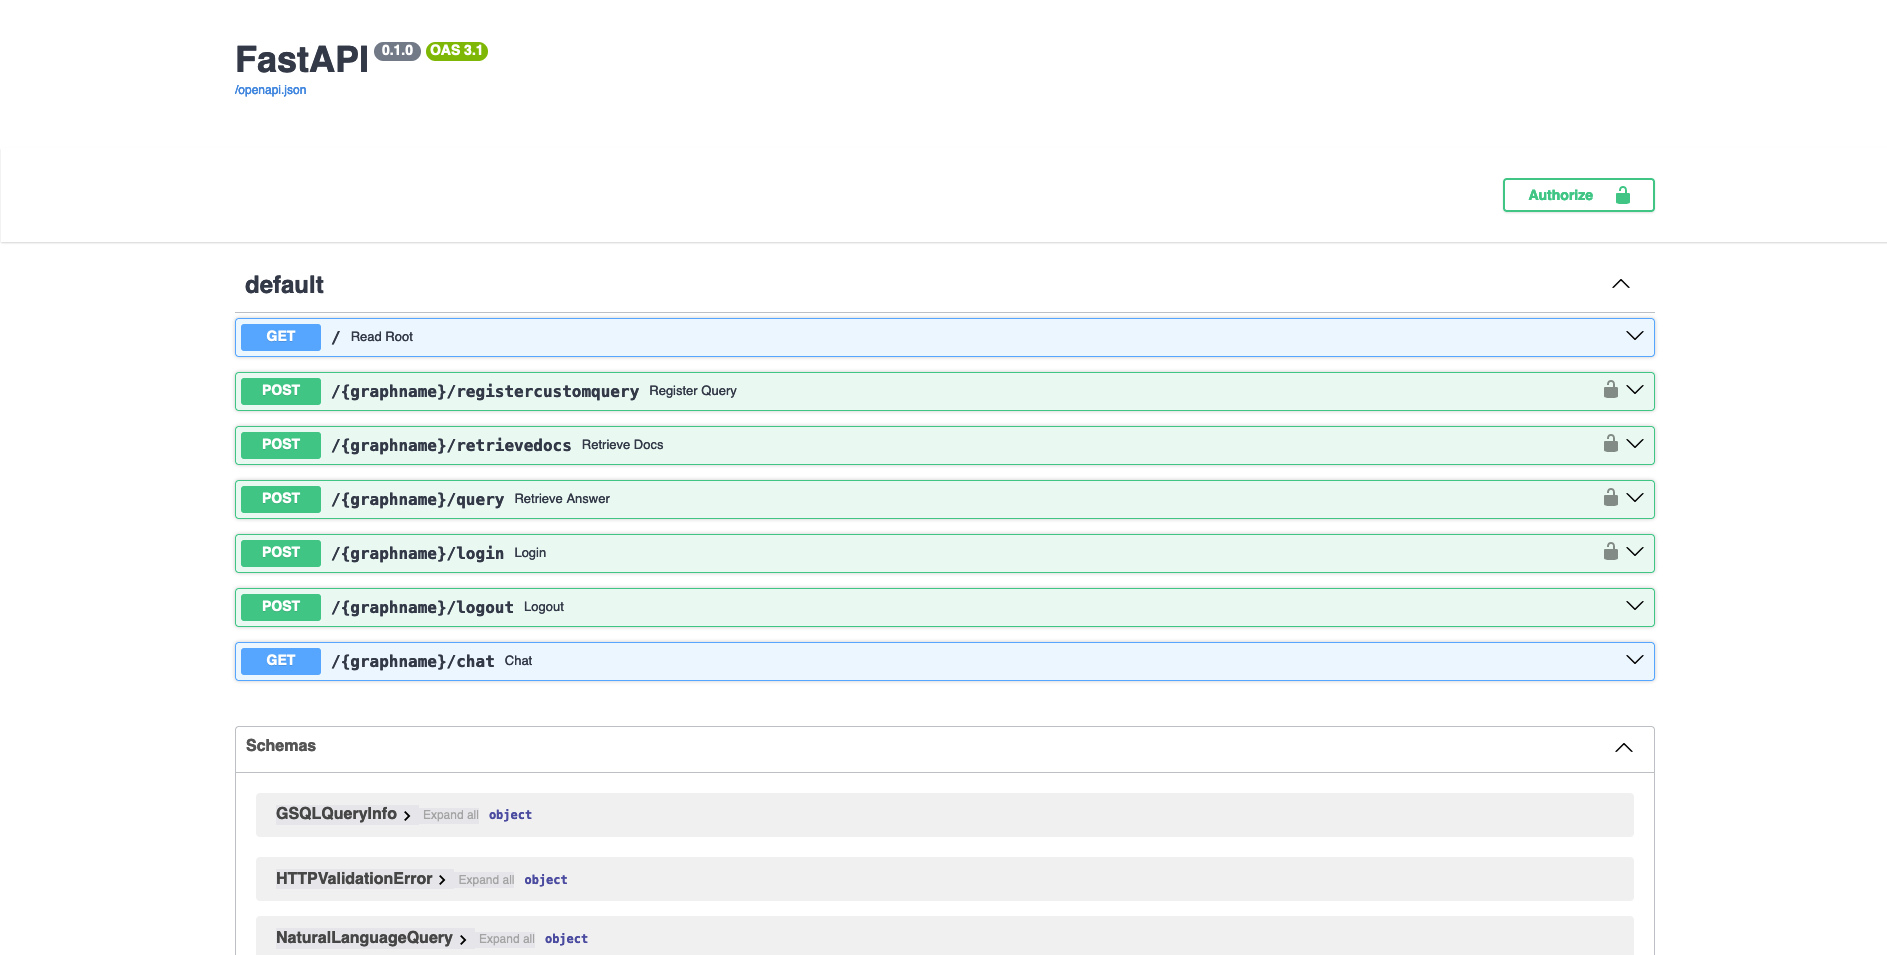
Navigate to http://localhost/docs when the Docker container is running.
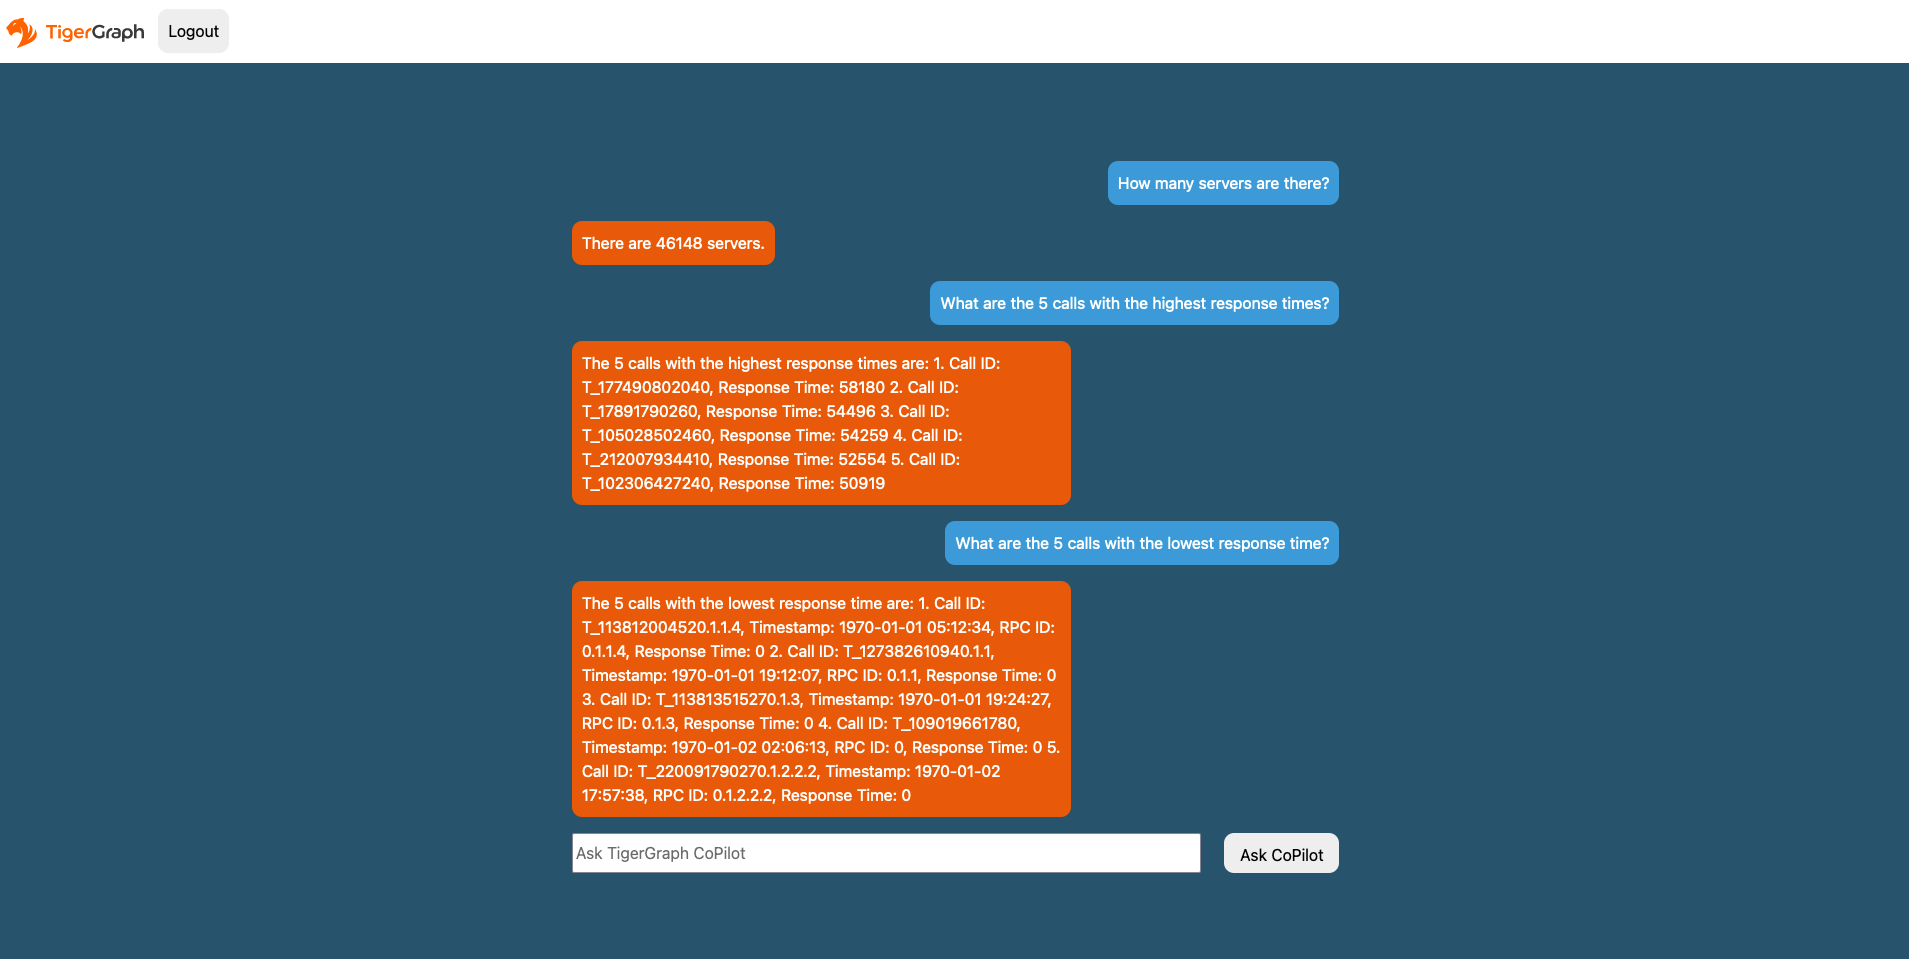
Navigate to http://localhost/graphname/chat when the Docker container is running, where graphname is the name of the graph you
| This guide assumes you are already familiar with pyTigerGraph. If not, see our documentation Getting Started with pyTigerGraph. |
-
Update pyTigerGraph to utilize the latest build:
pip install -U git+https://github.com/tigergraph/pyTigerGraph.git -
Next, configure the endpoints with a
TigerGraphConnection.As in this example code snippets below:
ImportTigerGraphConnection:from pyTigerGraph import TigerGraphConnectionCreate a connection to the database.conn = TigerGraphConnection(host="DATABASE_HOST_HERE", graphname="GRAPH_NAME_HERE", username="USERNAME_HERE", password="PASSWORD_HERE")Configure InquiryAI host:conn.ai.configureInquiryAIHost("INQUIRYAI_HOST_HERE")Retrieve Top-K Docs from Library:# `top_k` parameter optional conn.ai.retrieveDocs("How many papers are there?", top_k = 5)Run a natural language query:print(conn.ai.query("How many papers are there?")) # prints: {'natural_language_response': 'There are 736389 papers.', 'answered_question': True, 'query_sources': {'function_call': "getVertexCount('Paper')", 'result': 736389}}Register a custom query:# Prompt for PageRank query - could be read in as JSON file. pr_prompt = { "function_header": "tg_pagerank", "description": "Determines the importance or influence of each vertex based on its connections to other vertices.", "docstring": "The PageRank algorithm measures the influence of each vertex on every other vertex. PageRank influence is defined recursively: a vertex’s influence is based on the influence of the vertices which refer to it. A vertex’s influence tends to increase if either of these conditions are met:\n* It has more referring vertices\n* Its referring vertices have higher influence\nTo run this algorithm, use `runInstalledQuery('tg_pagerank', params={'v_type': 'INSERT_V_TYPE_HERE', 'e_type': 'INSERT_E_TYPE_HERE', 'top_k': INSERT_TOP_K_HERE})`, where the parameters are:\n* 'v_type': The vertex type to run the algorithm on.\n* 'e_type': The edge type to run the algorithm on.\n* 'top_k': The number of top scoring vertices to return to the user.", "param_types": { "v_type": "str", "e_type": "str", "top_k": "int" } }Register Query:conn.ai.registerCustomQuery(pr_prompt["function_header"], pr_prompt["description"], pr_prompt["docstring"], pr_prompt["param_types"])Run Query:print(conn.ai.query("What are the 5 most influential papers by citations?")) # prints: {'natural_language_response': 'The top 5 most cited papers are:\n\n1. [Title of paper with Vertex_ID 428523]\n2. [Title of paper with Vertex_ID 384889]\n3. [Title of paper with Vertex_ID 377502]\n4. [Title of paper with Vertex_ID 61855]\n5. [Title of paper with Vertex_ID 416200]', 'answered_question': True, 'query_sources': {'function_call': "runInstalledQuery('tg_pagerank', params={'v_type': 'Paper', 'e_type': 'CITES', 'top_k': 5})", 'result': [{'@@top_scores_heap': [{'Vertex_ID': '428523', 'score': 392.8731}, {'Vertex_ID': '384889', 'score': 251.8021}, {'Vertex_ID': '377502', 'score': 149.1018}, {'Vertex_ID': '61855', 'score': 129.7406}, {'Vertex_ID': '416200', 'score': 129.2286}]}]}}
To use LangChain with InquiryAI:
-
First install the LangChain fork here in your Python environment:
pip install git+https://github.com/langchain-ai/langchain.git -
Then, you can get answers from the graph with the example code snipets below:
Import pyTigerGraphimport pyTigerGraph as tgCreate instance of theTigerGraphConnection(replace example strings like "DATABASE_HOST_HERE" with your specific information):conn = tg.TigerGraphConnection(host="DATABASE_HOST_HERE", graphname="GRAPH_NAME_HERE", username="USERNAME_HERE", password="PASSWORD_HERE")Configure InquiryAI Hostconn.ai.configureInquiryAIHost("INQUIRYAI_HOST_HERE")Configure LangChain and ask your question and print results:from langchain_community.graphs import TigerGraph graph = TigerGraph(conn) result = graph.query("How many servers are there?") print(result) # {'natural_language_response': 'There are 46148 servers.', # 'answered_question': True, # 'query_sources': {'function_call': 'getVertexCount(vertexType="BareMetalNode")', # 'result': 46148}
The REST API can be used to interact with the service.
The endpoints can be found on the Swagger page. Navigate to http://localhost/docs when the Docker container is running.
Deployment
|
TigerGraph CoPilot beta is for personal or R&D use and not for production use. |
If you wish to deploy TigerGraph CoPilot and disable the Swagger documentation page, you can do so by setting the PRODUCTION environment variable to true in the Docker run command.
docker run -d -v $(pwd)/configs/llm_config.json:/llm_config.json -v $(pwd)/configs/db_config.json:/db_config.json -e PRODUCTION=true --name copilot -p 80:80 tigergraphml/copilot:latestNext Steps
Next, go to Testing TigerGraph CoPilot to learn how to test TigerGraph CoPilot.
Return to TigerGraph CoPilot for a different topic.