Workspace Schedule
TigerGraph Savanna provides the ability to schedule workspace actions such as stopping, starting, expanding, and shrinking your workspace. This guide will walk you through the steps to configure and schedule these actions using the TigerGraph Savanna UI.
Steps to Schedule Workspace Actions
1) Open the Scheduler
-
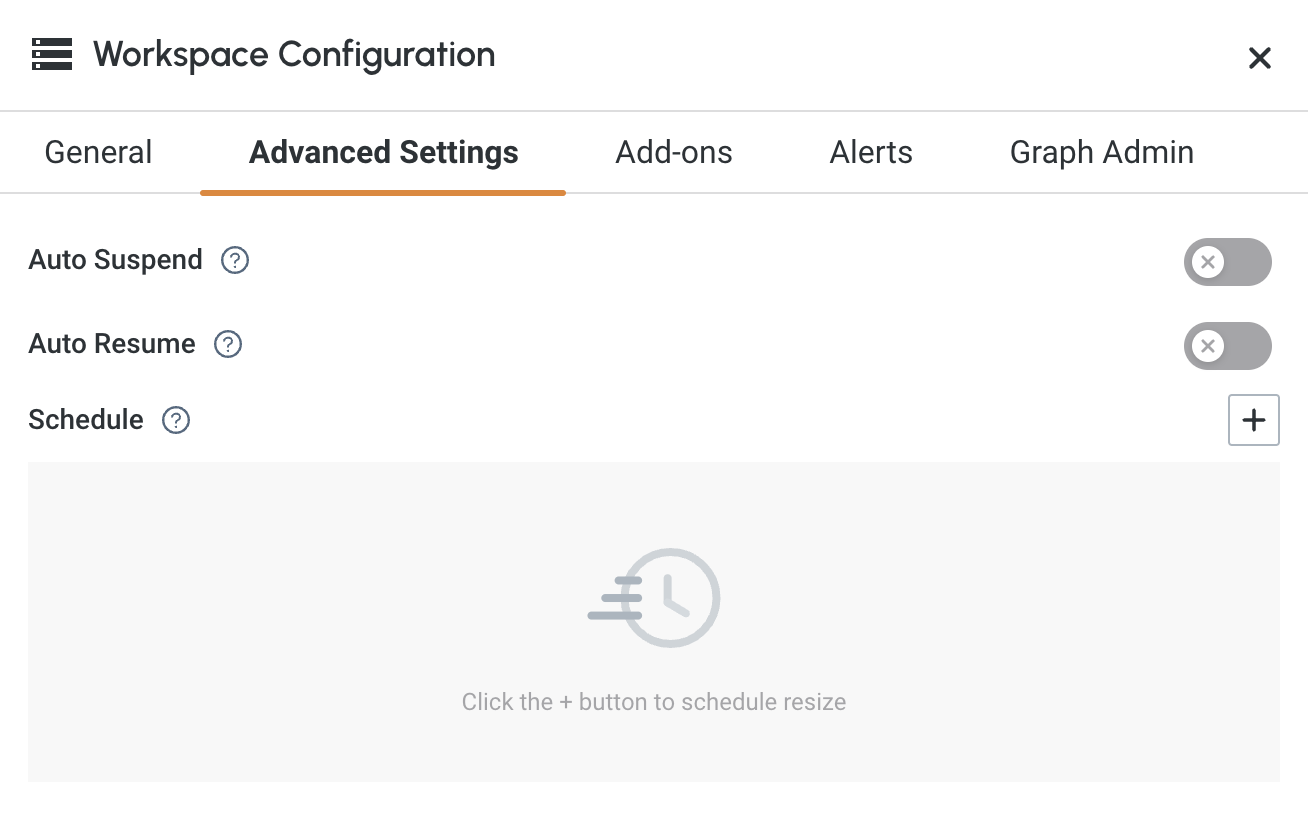
Click on the Edit button from the … menu of your workspace, and navigate to the Advanced Settings tab.

-
In the schedule section, add new schedule by clicking the + button or select edit option of an existing schedule.

2) Configure the Scheduler
-
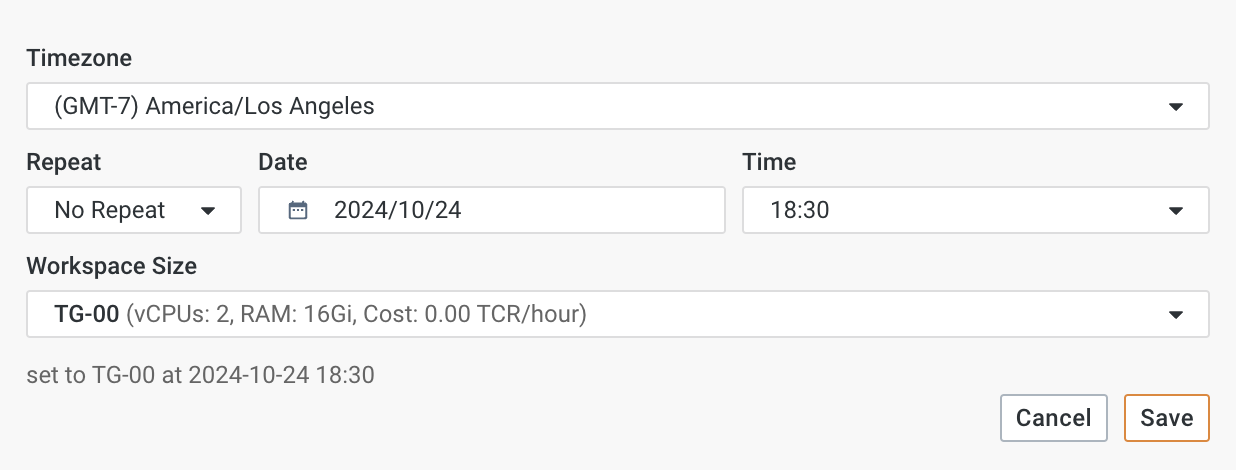
Choose your timezone from the dropdown menu.
-
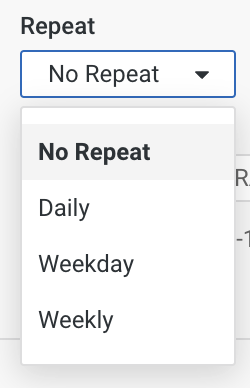
Select the repeat option for your schedule:
Daily,Weekly,Weekdays. If you do not want the action to repeat, selectNo Repeat. -
Specify the time of day you want the action to occur.
-
Choose the desired workspace size from the Workspace Size dropdown menu. The sizes include vCPUs, RAM, and the associated cost per hour. Learn more at Workspace Size.

-
Click on the Save button to save your schedule, then your schedule will be displayed in the schedule list.

|
An expansion or shrink is an offline operation. If there are any other operations in progress on the workspace, they will be affected. |
|
Use this feature to automate workspace actions and optimize resource usage. |
Next Steps
See How to Create a Workspace to get started.
Return to the Workgroups and Workspaces page or Overview page for a different topic.