Applications
Applications are the backbone of TigerGraph Insights. Each application has pages, which themselves have Widgets that display information from a TigerGraph instance.
You can think of an application as a binder in a physical presentation. Binders have sections, which correspond to pages in Insights, and widgets are more advanced, interactive versions of charts and figures in a presentation.
Create an application
You can create a maximum of 150 applications per TigerGraph instance.
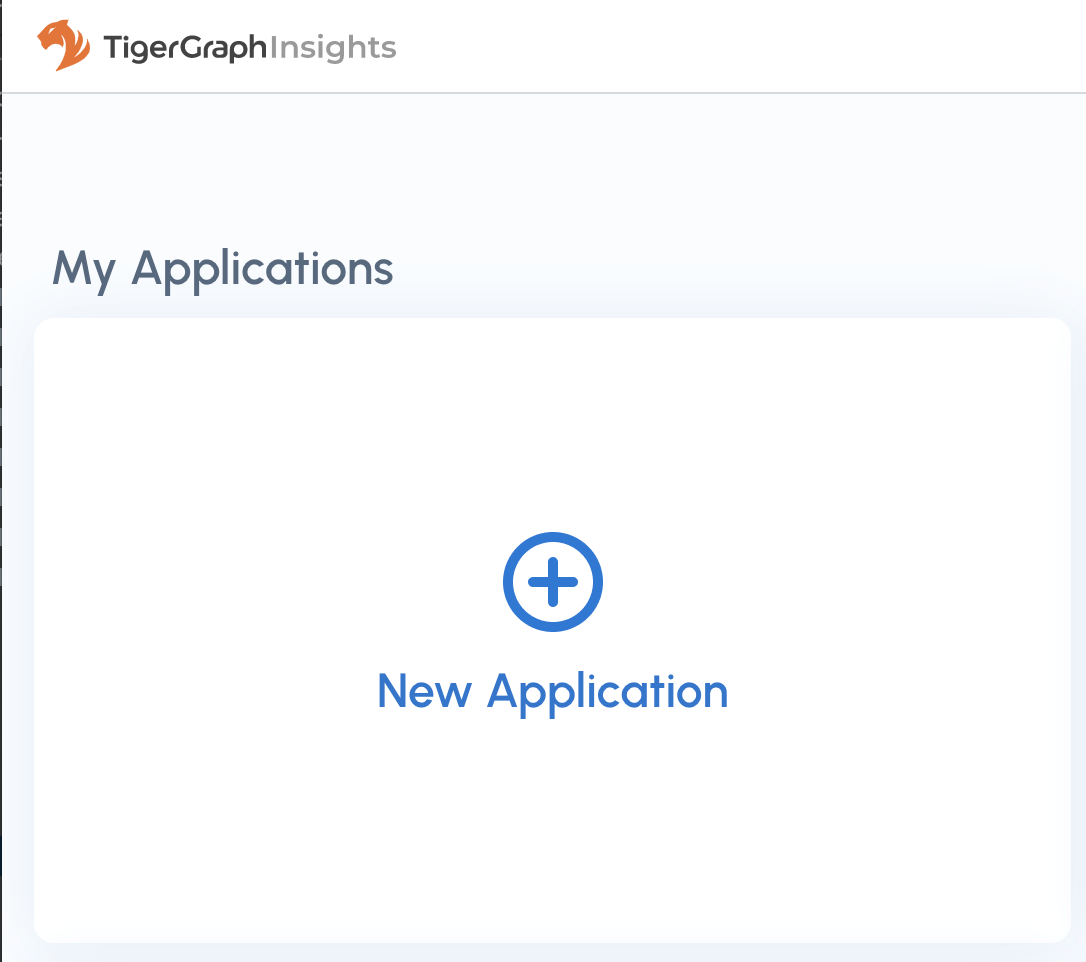
On the main TigerGraph Insights page, click + New Application.
In the next window, choose a name, icon, and default graph to pull data from. All of these options can be changed later as well.
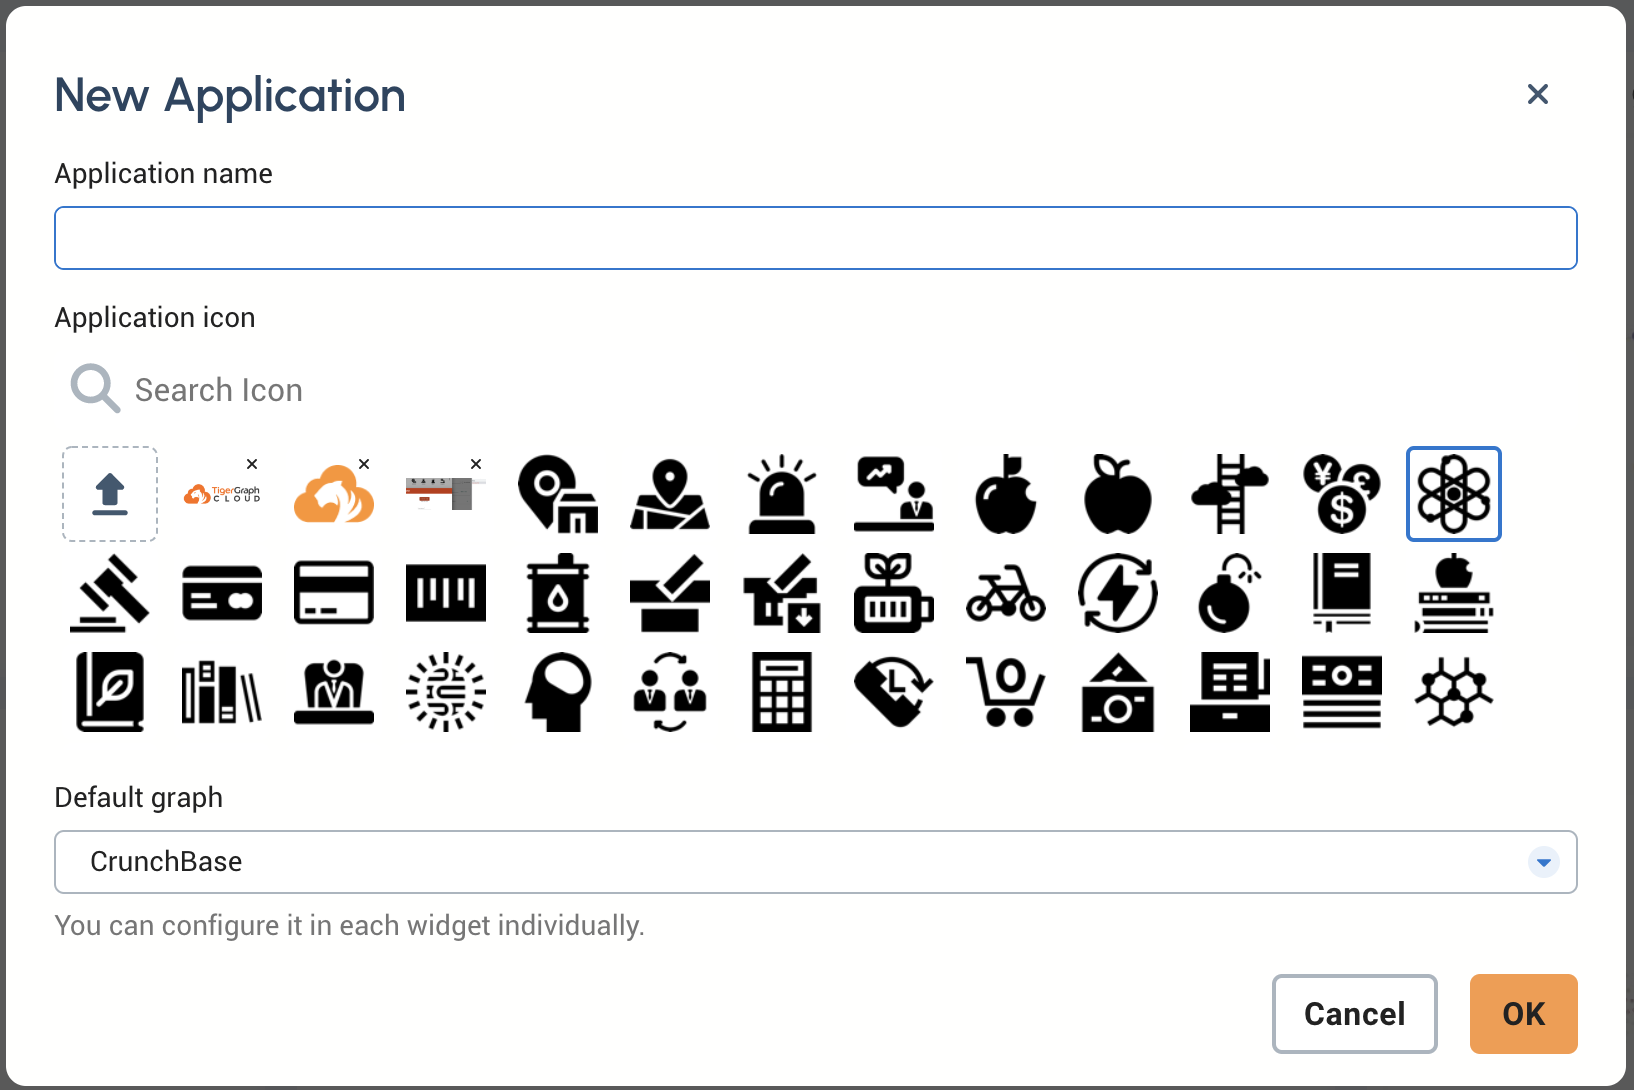
If you don’t see any graphs in the dropdown list, either there are no graphs on your instance or you do not have permissions to view any graphs. Try creating a new graph using GraphStudio first, or contact an administrator to grant you the correct permissions.
Your new application will appear on the Insights main page under My Applications. If other users on the same TigerGraph instance have created their own applications, they will be listed under "Other Applications."
Preview an application
Preview mode is designed to show off the use of your application in a presentation. In preview mode, the UI is minimized and all pages and widgets are locked with no changes possible.
Save the application and press the play button to enter preview mode. The preview button is inactive (greyed out) until the application is saved.
Modify an application
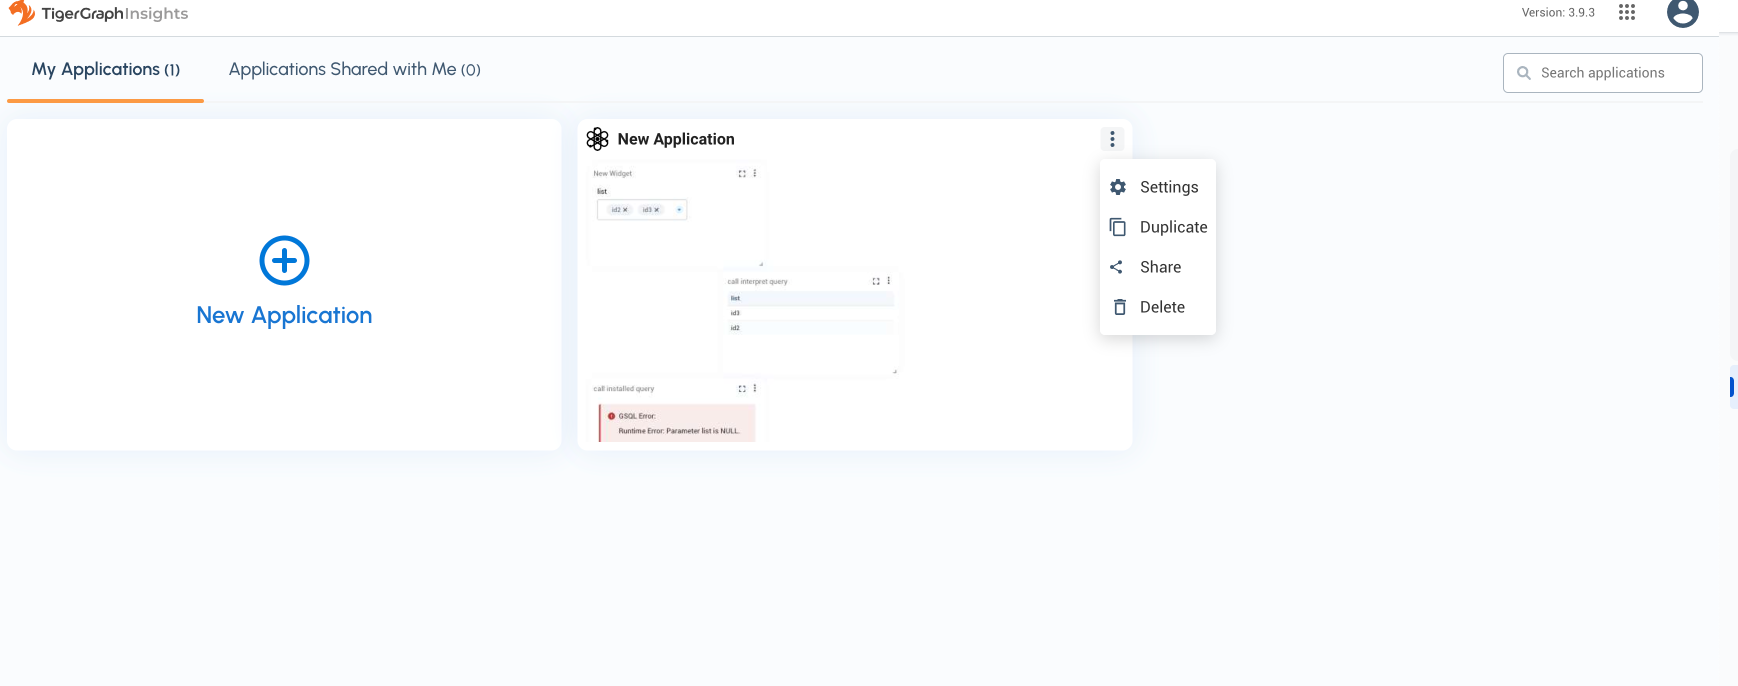
You can edit, duplicate, and delete applications from the same main page by clicking the three-dot menu.
Click Settings to update the name, icon, and default graph just as if you were creating the application for the first time. Duplicating an application is useful for quickly trying out new options while still being able to refer back to the previoous configuration.
Share an application
Share via login
-
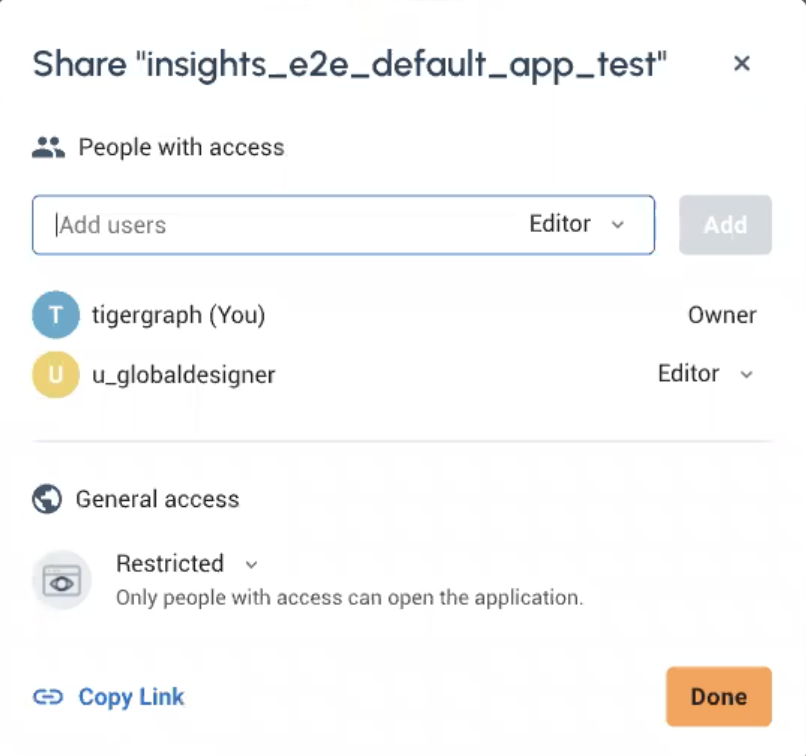
Click on Share in the three-dot menu to bring up the Share window.
-
Select one of the listed users.
Share via access token
If you want to share your widget with a user who does not have an Insights login, you can send them an URL/access token.
Create a database account
You will need a separate database account to generate an access token for Insights. Ensure that you grant minimal privileges to this account.
Please check the Legacy RBAC Privileges.
TigerGraph provides two modes for running queries:
-
Run a previously Installed query
-
Interpret an ad hoc query
For Insights, Interpret query is the default query mode, unless you explicitly convert it to an Installed query. If your widget only needs pre-designed queries, then you may only need Installed queries. If you want users to be able to create and run their own queries, then likely they will need to be able to Interpret queries.
WRITE_QUERY privilege is required to interpret queries or to install queries.
It is not needed to run an installed query.
READ_DATA privilege is required for any type of query, and you can grant it at various levels.
(Details are provided in local privileges)
READ_SCHEMA and READ_QUERY are also needed for any type of query.
| Query Type | Minimal Required Privileges |
|---|---|
Installed Query |
|
Interpret Query |
|
(Optional) Configure nginx
This is only needed if you want to embed Insights into third party webpages.
-
Switch to the Admin Portal tool to configure
nginx. -
Set the
content-security-policyparameter as below, substituting in your web page’s URL.
Content-Security-Policy: frame-ancestors 'self' https://www.thirdparty.com;Generate an access token
Use the account you just created to generate an access token. The access token gets generated as part of a URL, which then can be shared.
-
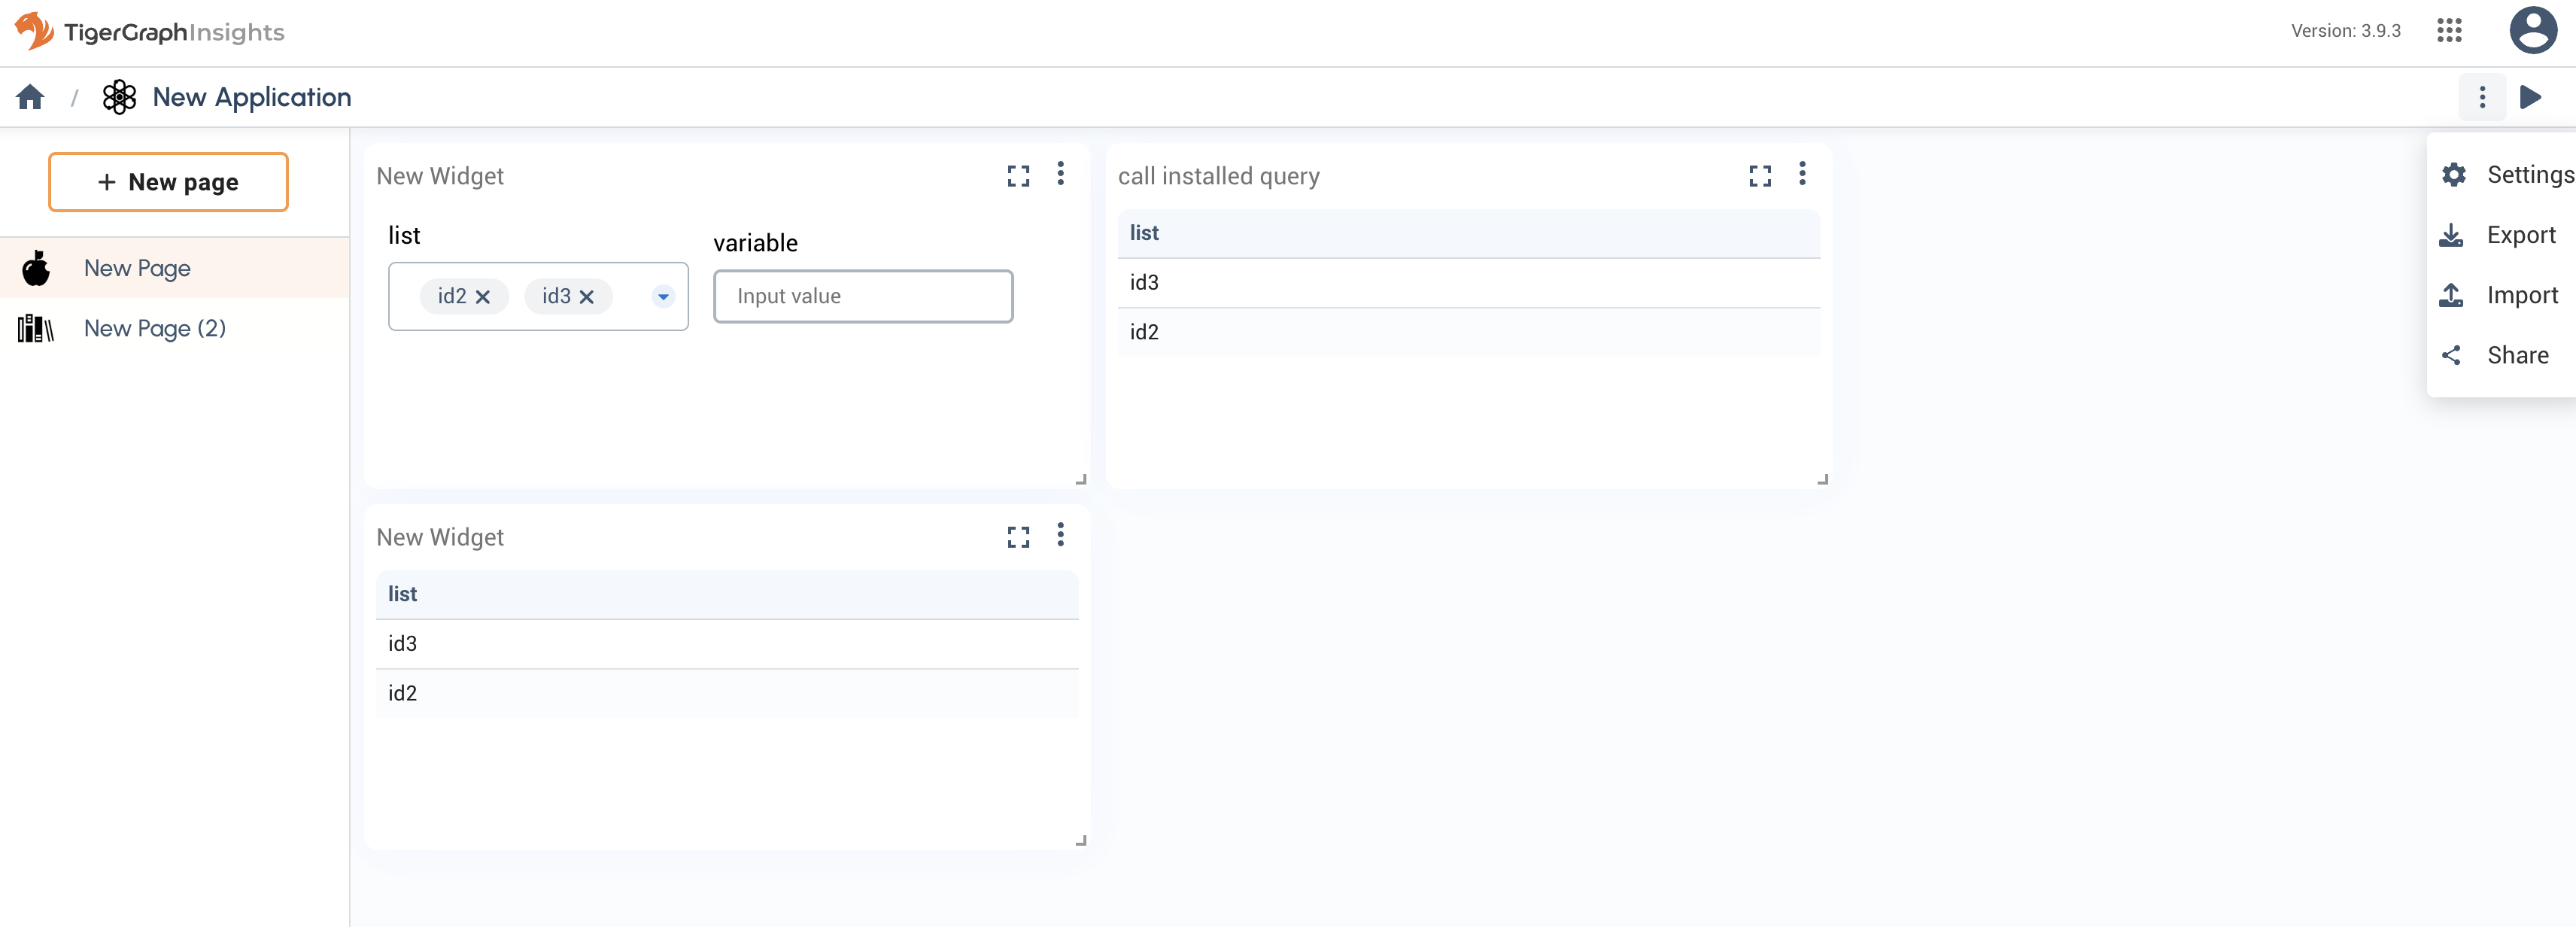
Go to in the three-dot menu of the specific application.
-
On the application page choose the gear icon for
Settings.
-
Go to the
Securitytab to create the access token.
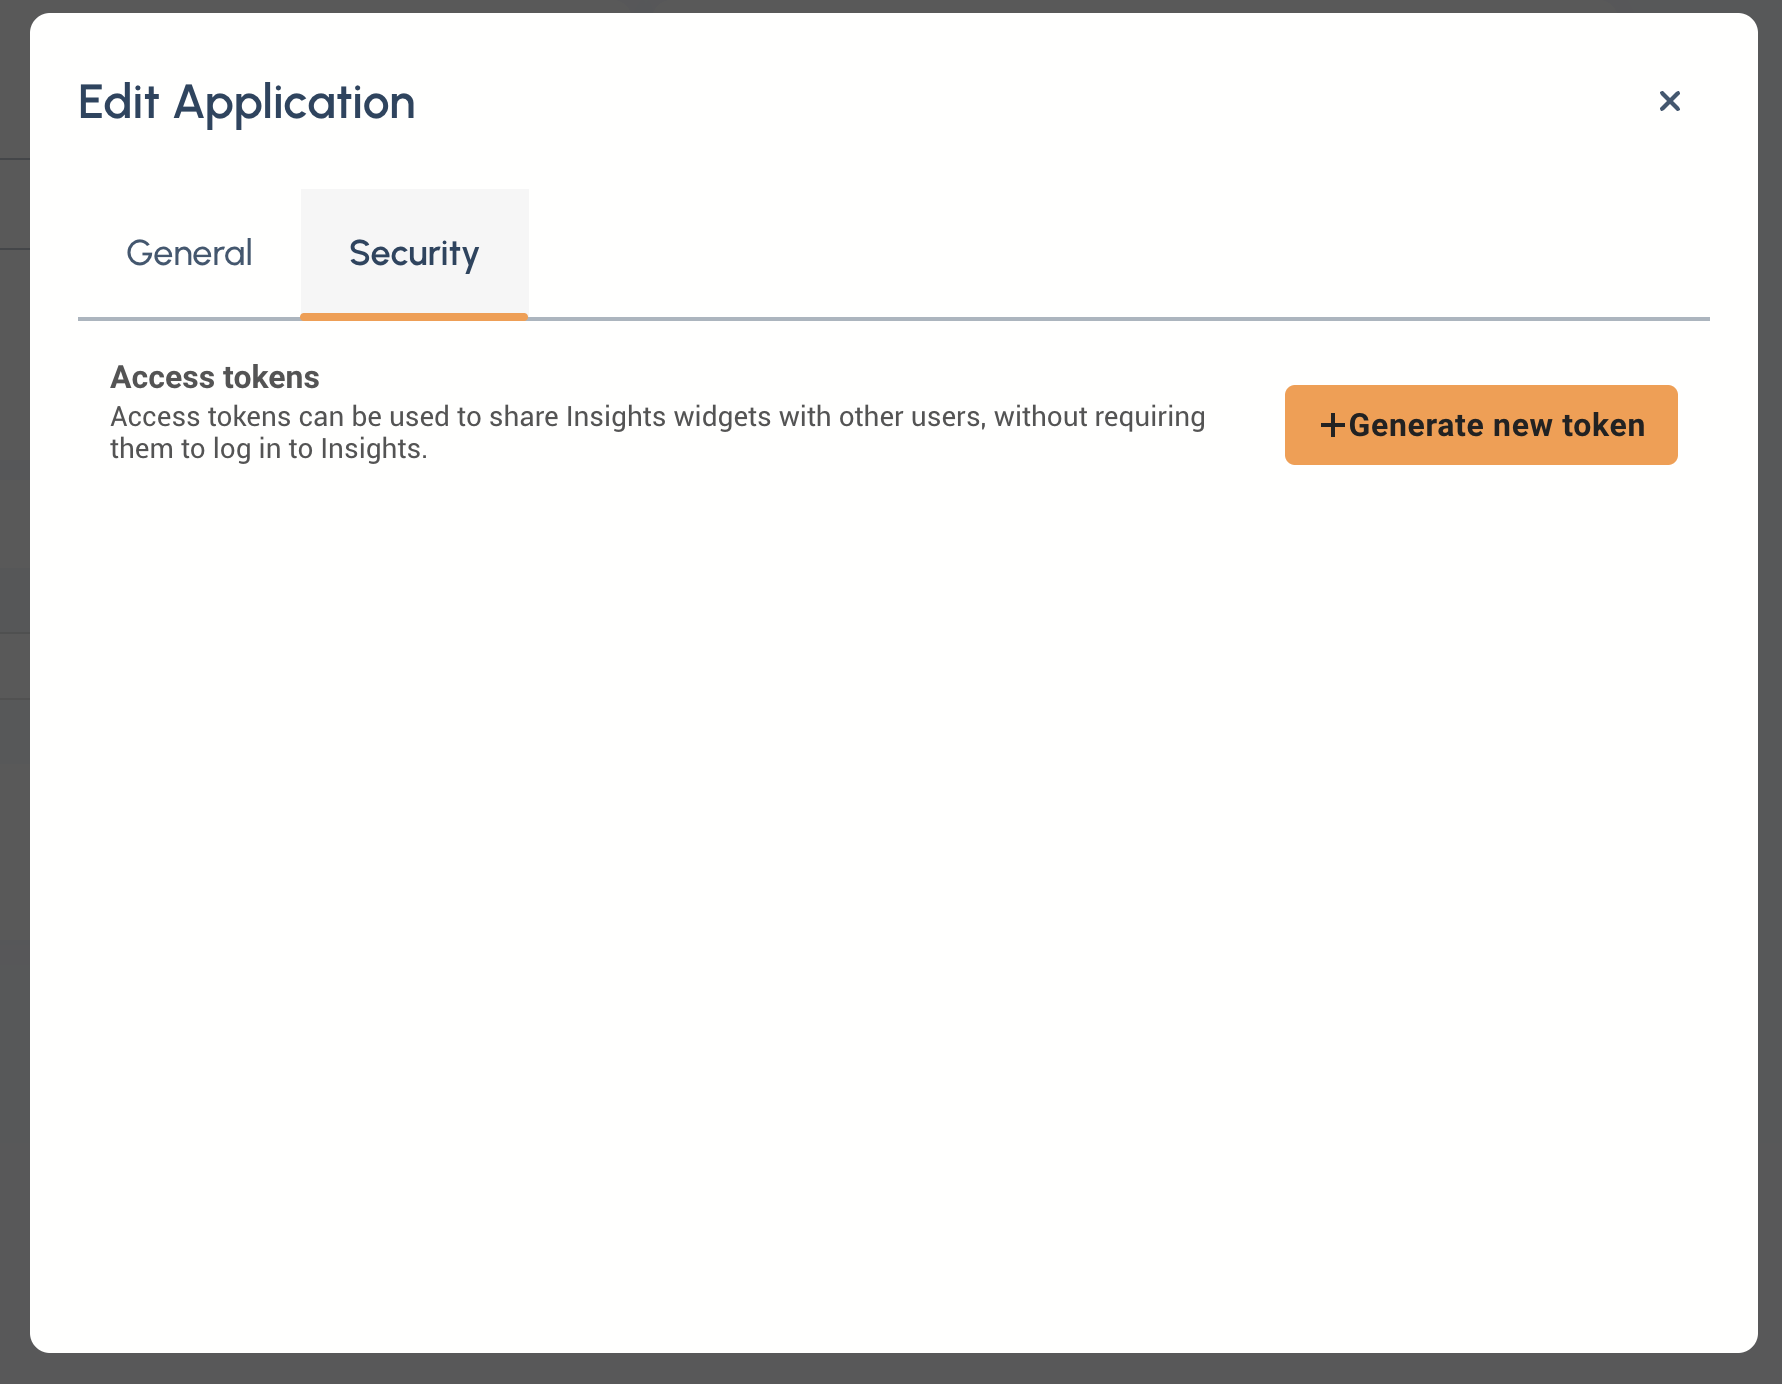
-
Click Generate new token button and fill in the username/password details.
Get the Shared Link for a Whole Application
We also provide a standalone application URL based on the access token.
-
Go back to
Applicationpage
-
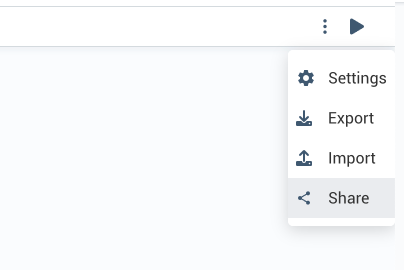
Click
Share
-
And you can copy the URL token from here.

Obtain a Widget sharing link
-
On the application page. Go to the individual widget and click the three dots.
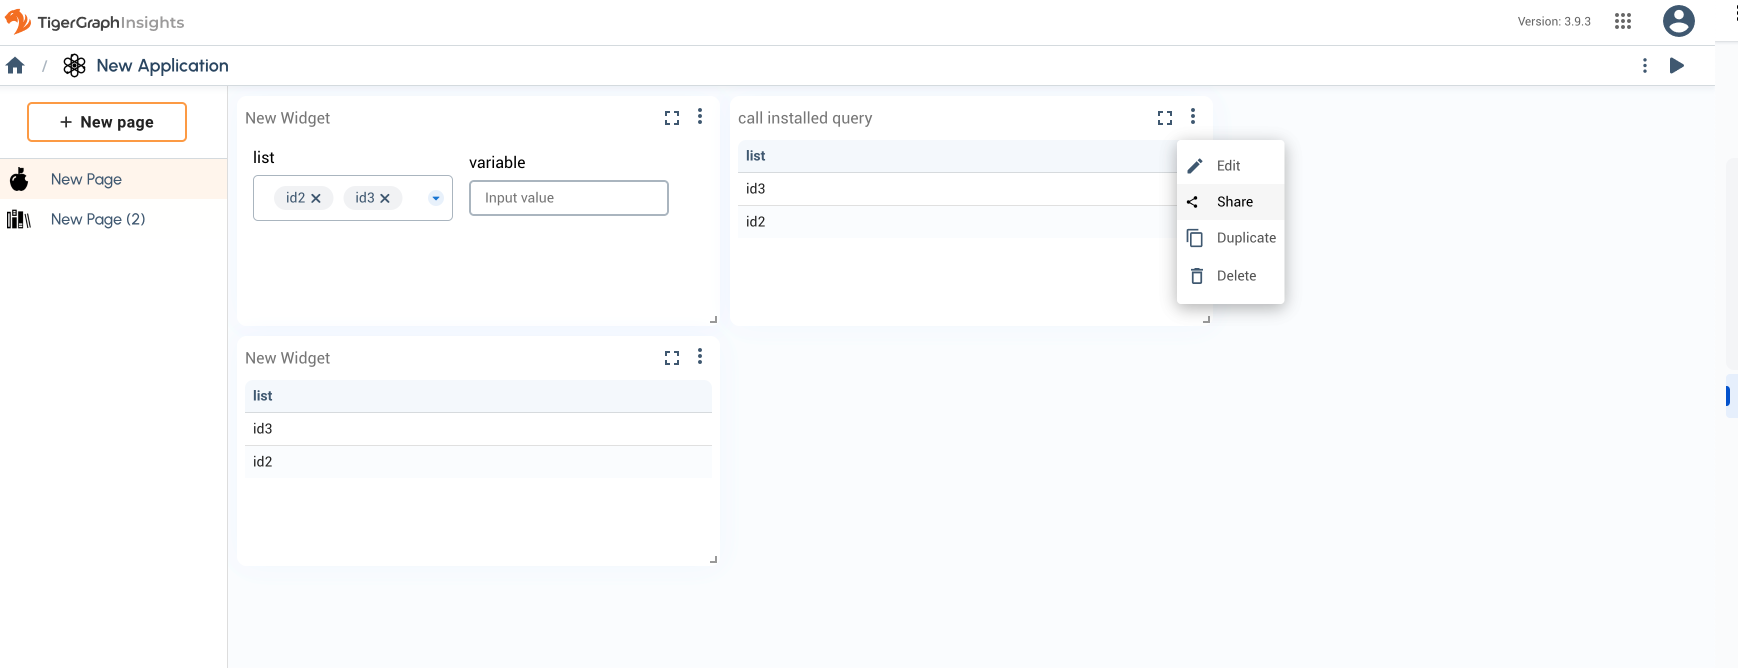
-
Go to
Shareto obtain the sharing link for the specific widget.
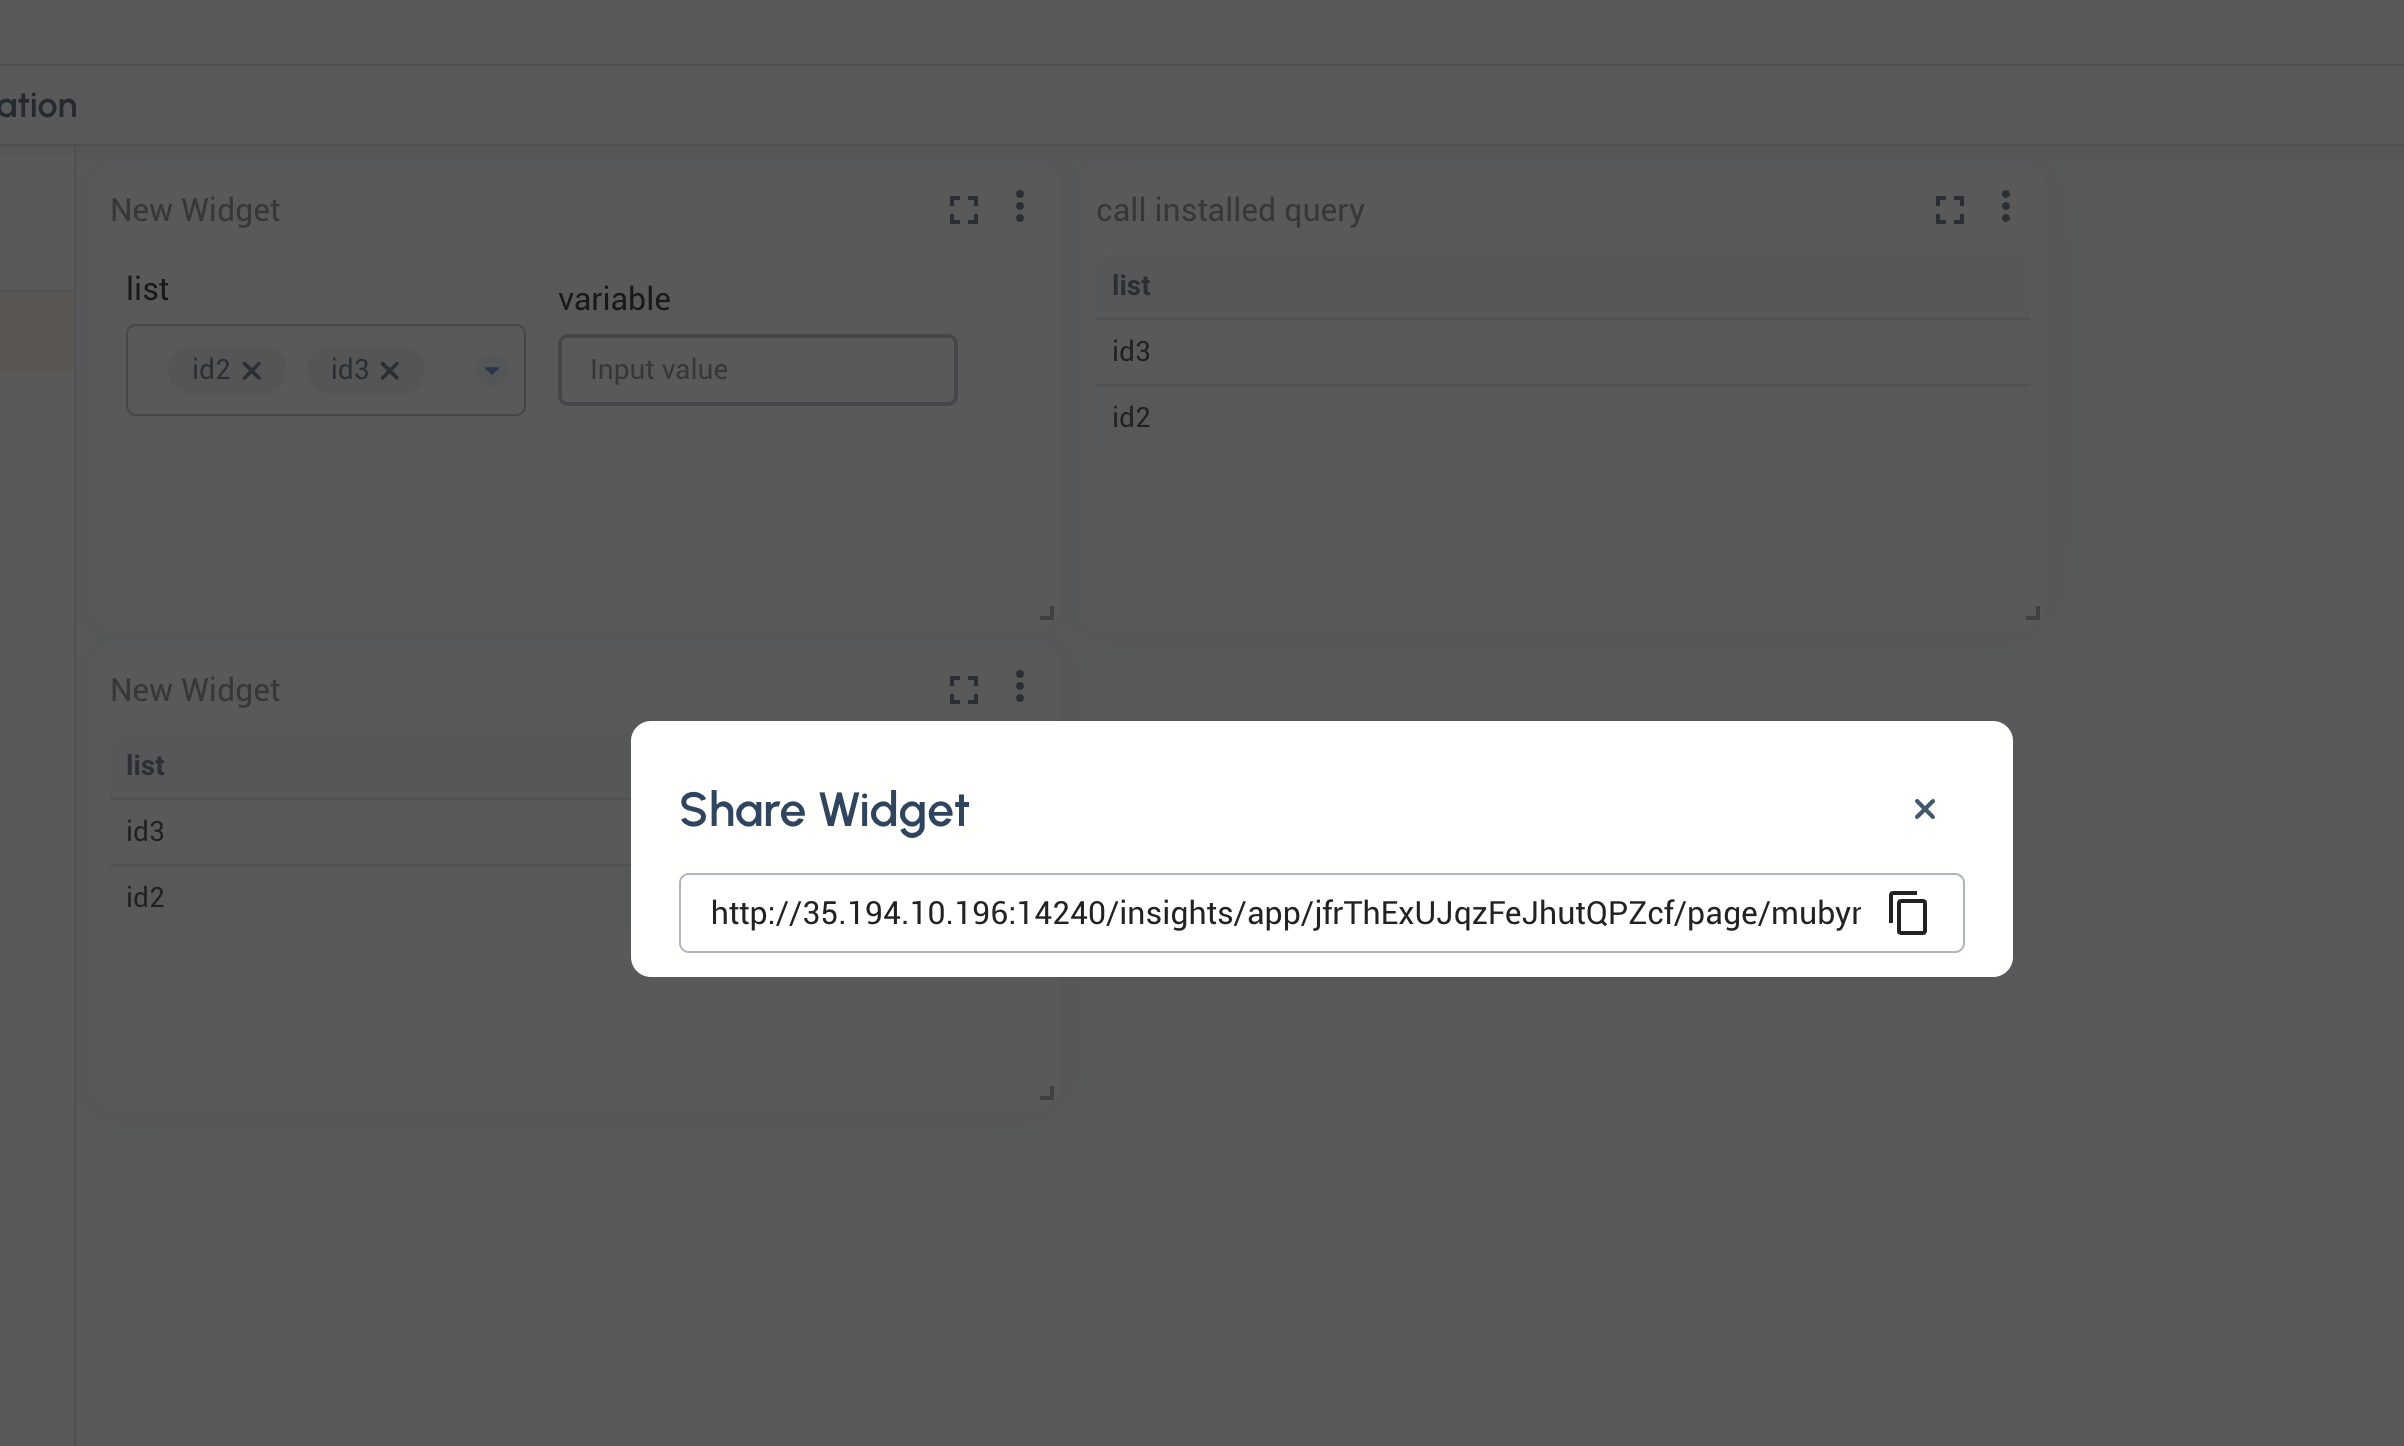
Share the Token/URL
You can now share this URL with others and they do not need a login to view the widget or application. They can view the widget or application by copying and pasting the URL into a browser.
Additionally, the URL can be embedded on a page as an <iframe src="Token/URL" > on a website.
<!DOCTYPE html>
<html lang="en">
    <head>
        <meta charset="UTF-8">
        <meta name="viewport" content="width=device-width, initial-scale=1.0">
    </head>
    <body>
    <iframe width="1024" height="800" src="https://tools-staging-v390.tgcloud.io/insights/app/sNi2JDPvExHJP3CMVy4mj4/page/dx4rfXsFDUB8RoQnxBmvhj/widgetShare/dgeUrw78PQuKYfqnULc9US?domain=feeaa44787b0445ea1df86b16d8fd396.i&orgName=tg-leadership&clusterid=b6b07192-4d5c-4b69-811f-57a73d3de84c" title="tigergarph insights" frameborder="0"></iframe>
    </body>
</html>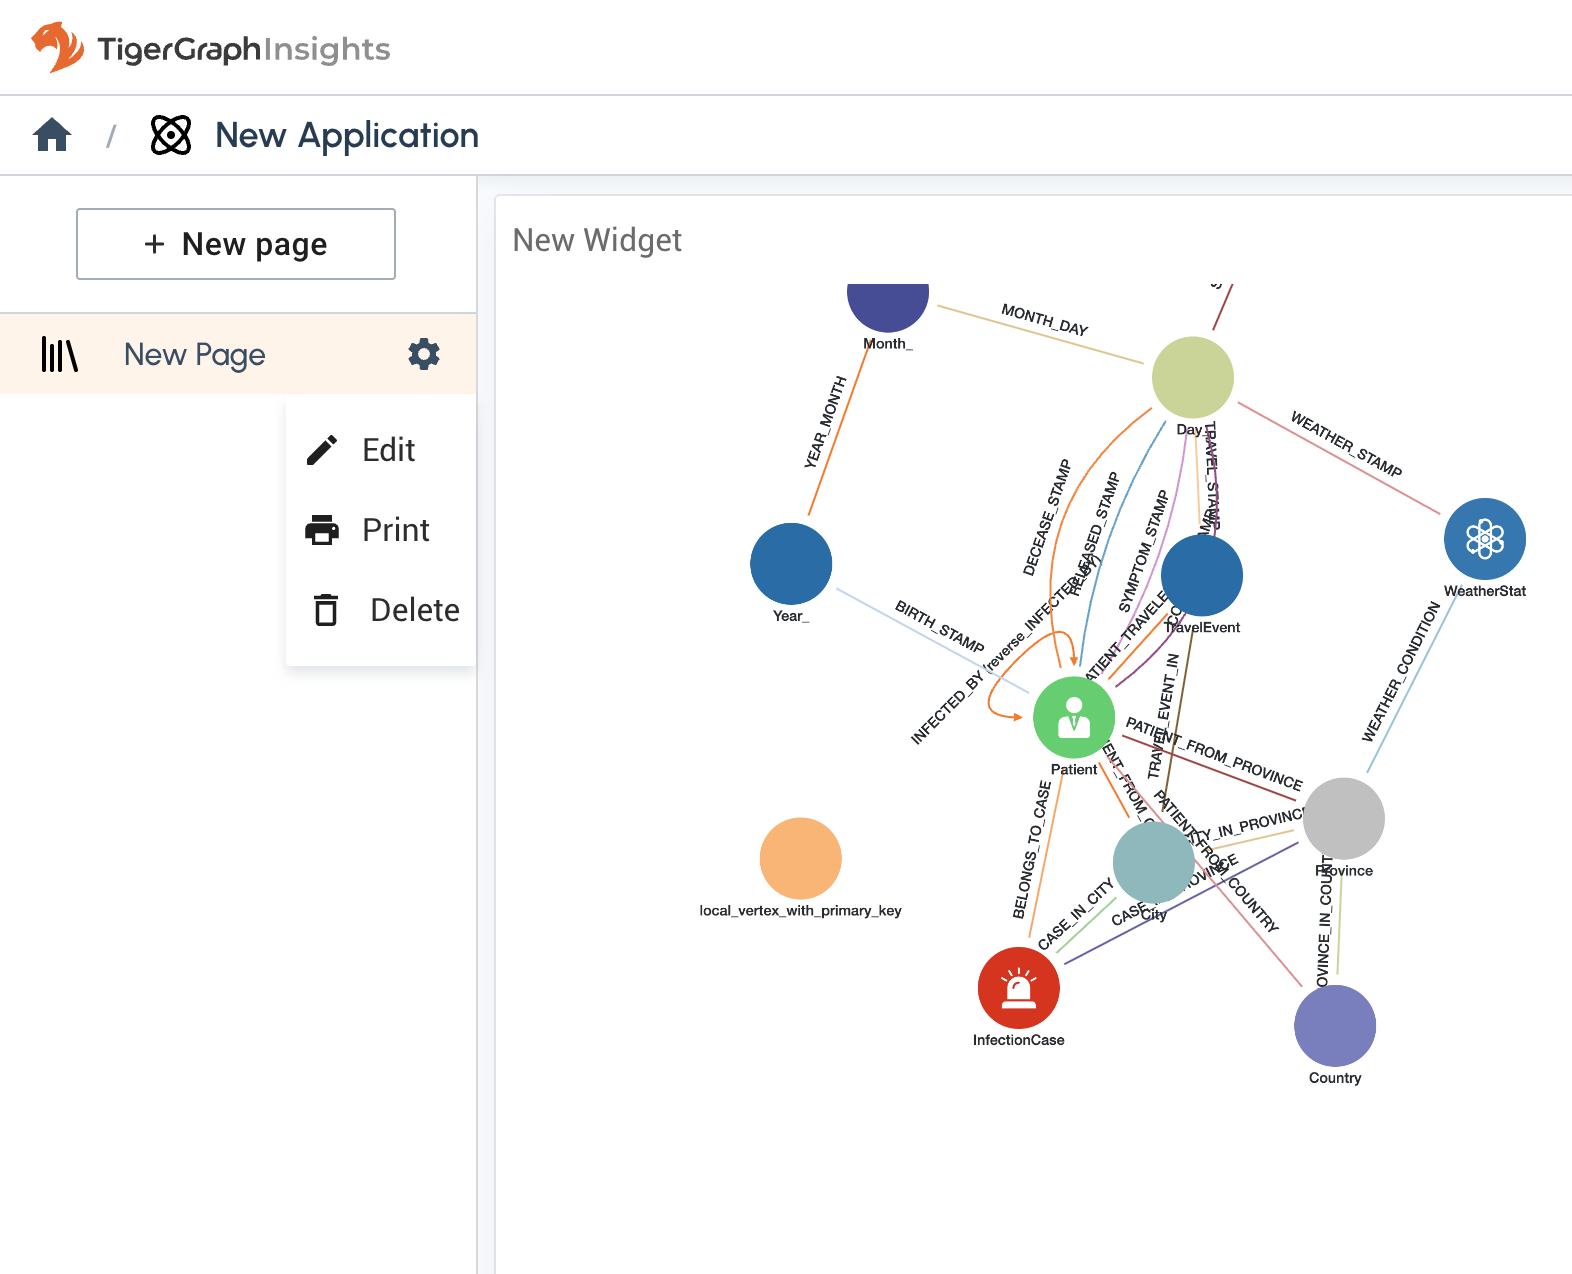
Backup and restore
Inside the application menu, use another three-dot menu in the upper-right near the Save and Run icons.
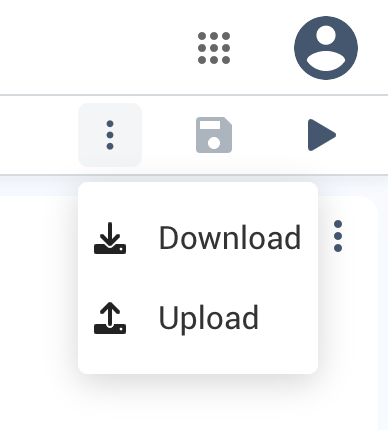
These buttons export or import the application panel in JSON format. If you delete an application, you cannot recover it from the TigerGraph system. You must use the Download and Upload features to create and restore any backups.