ML Workbench on TigerGraph Cloud
| ML Workbench is disabled by default for Free, Professional, and Enterprise instances. To get started with the ML Bundle, please contact support@tigergraph.com. |
The ML Workbench can be included when you create a new database instance on TigerGraph Cloud.
Create a Cloud Cluster with ML Workbench
-
Go to https://tgcloud.io. Log on to your account or sign up.
-
Enter your payment information.
-
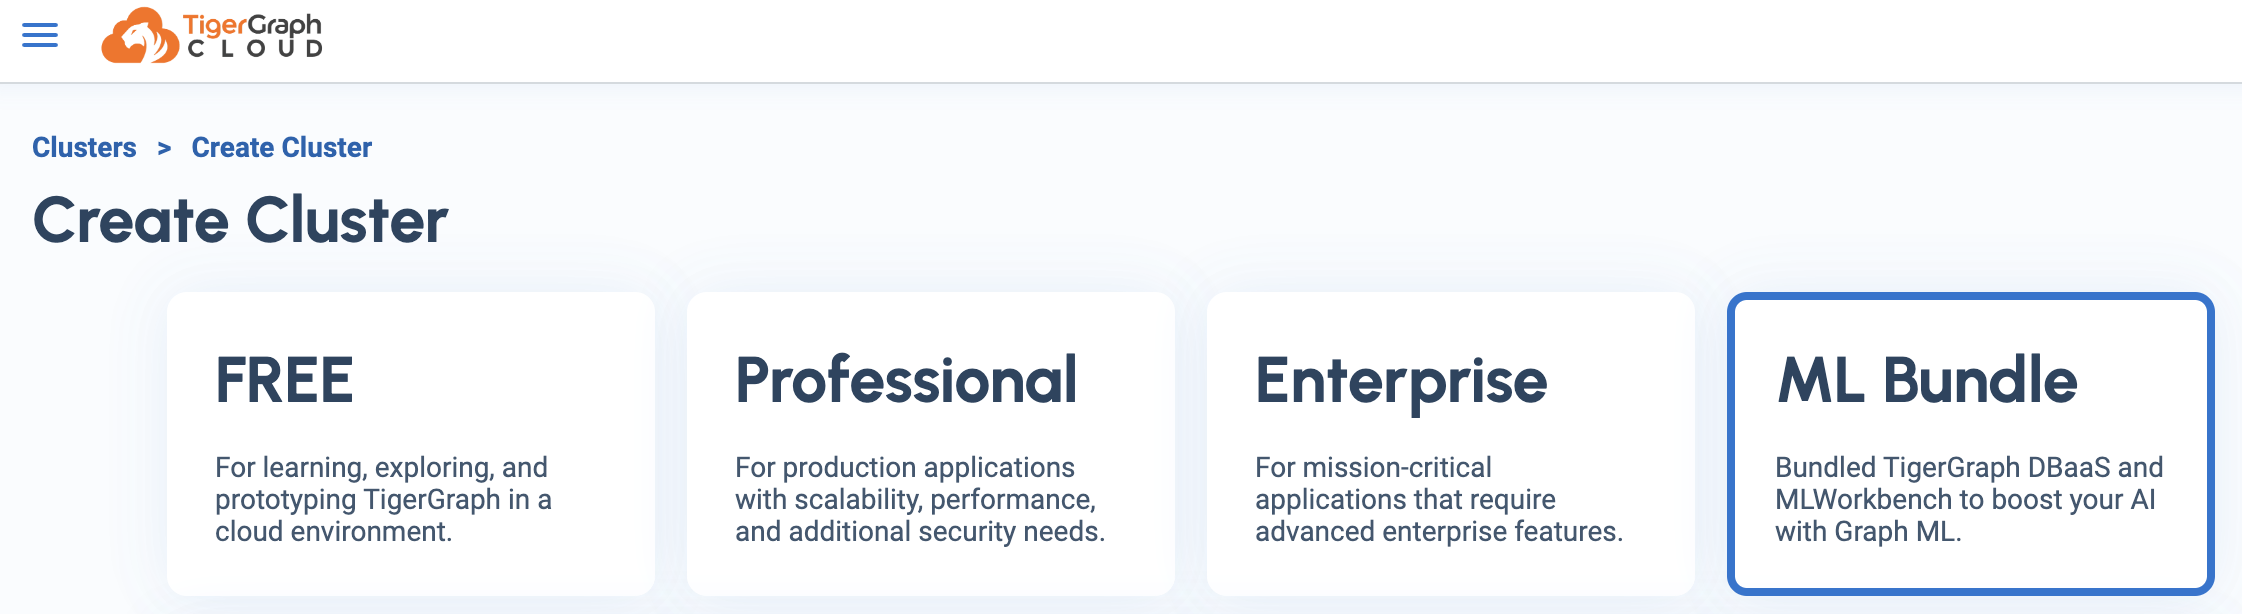
Click the btn:[Create Cluster] button.
-
From the menu at the top, select btn:[ML Workbench], then follow the same instructions as for creating an enterprise-tier instance.
It will take a few minutes for your instance to be ready.
Go to ML Workbench on TigerGraph Cloud
When your new instance is ready, it will be listed on the My Clusters page, probably at the top because it is the newest one.

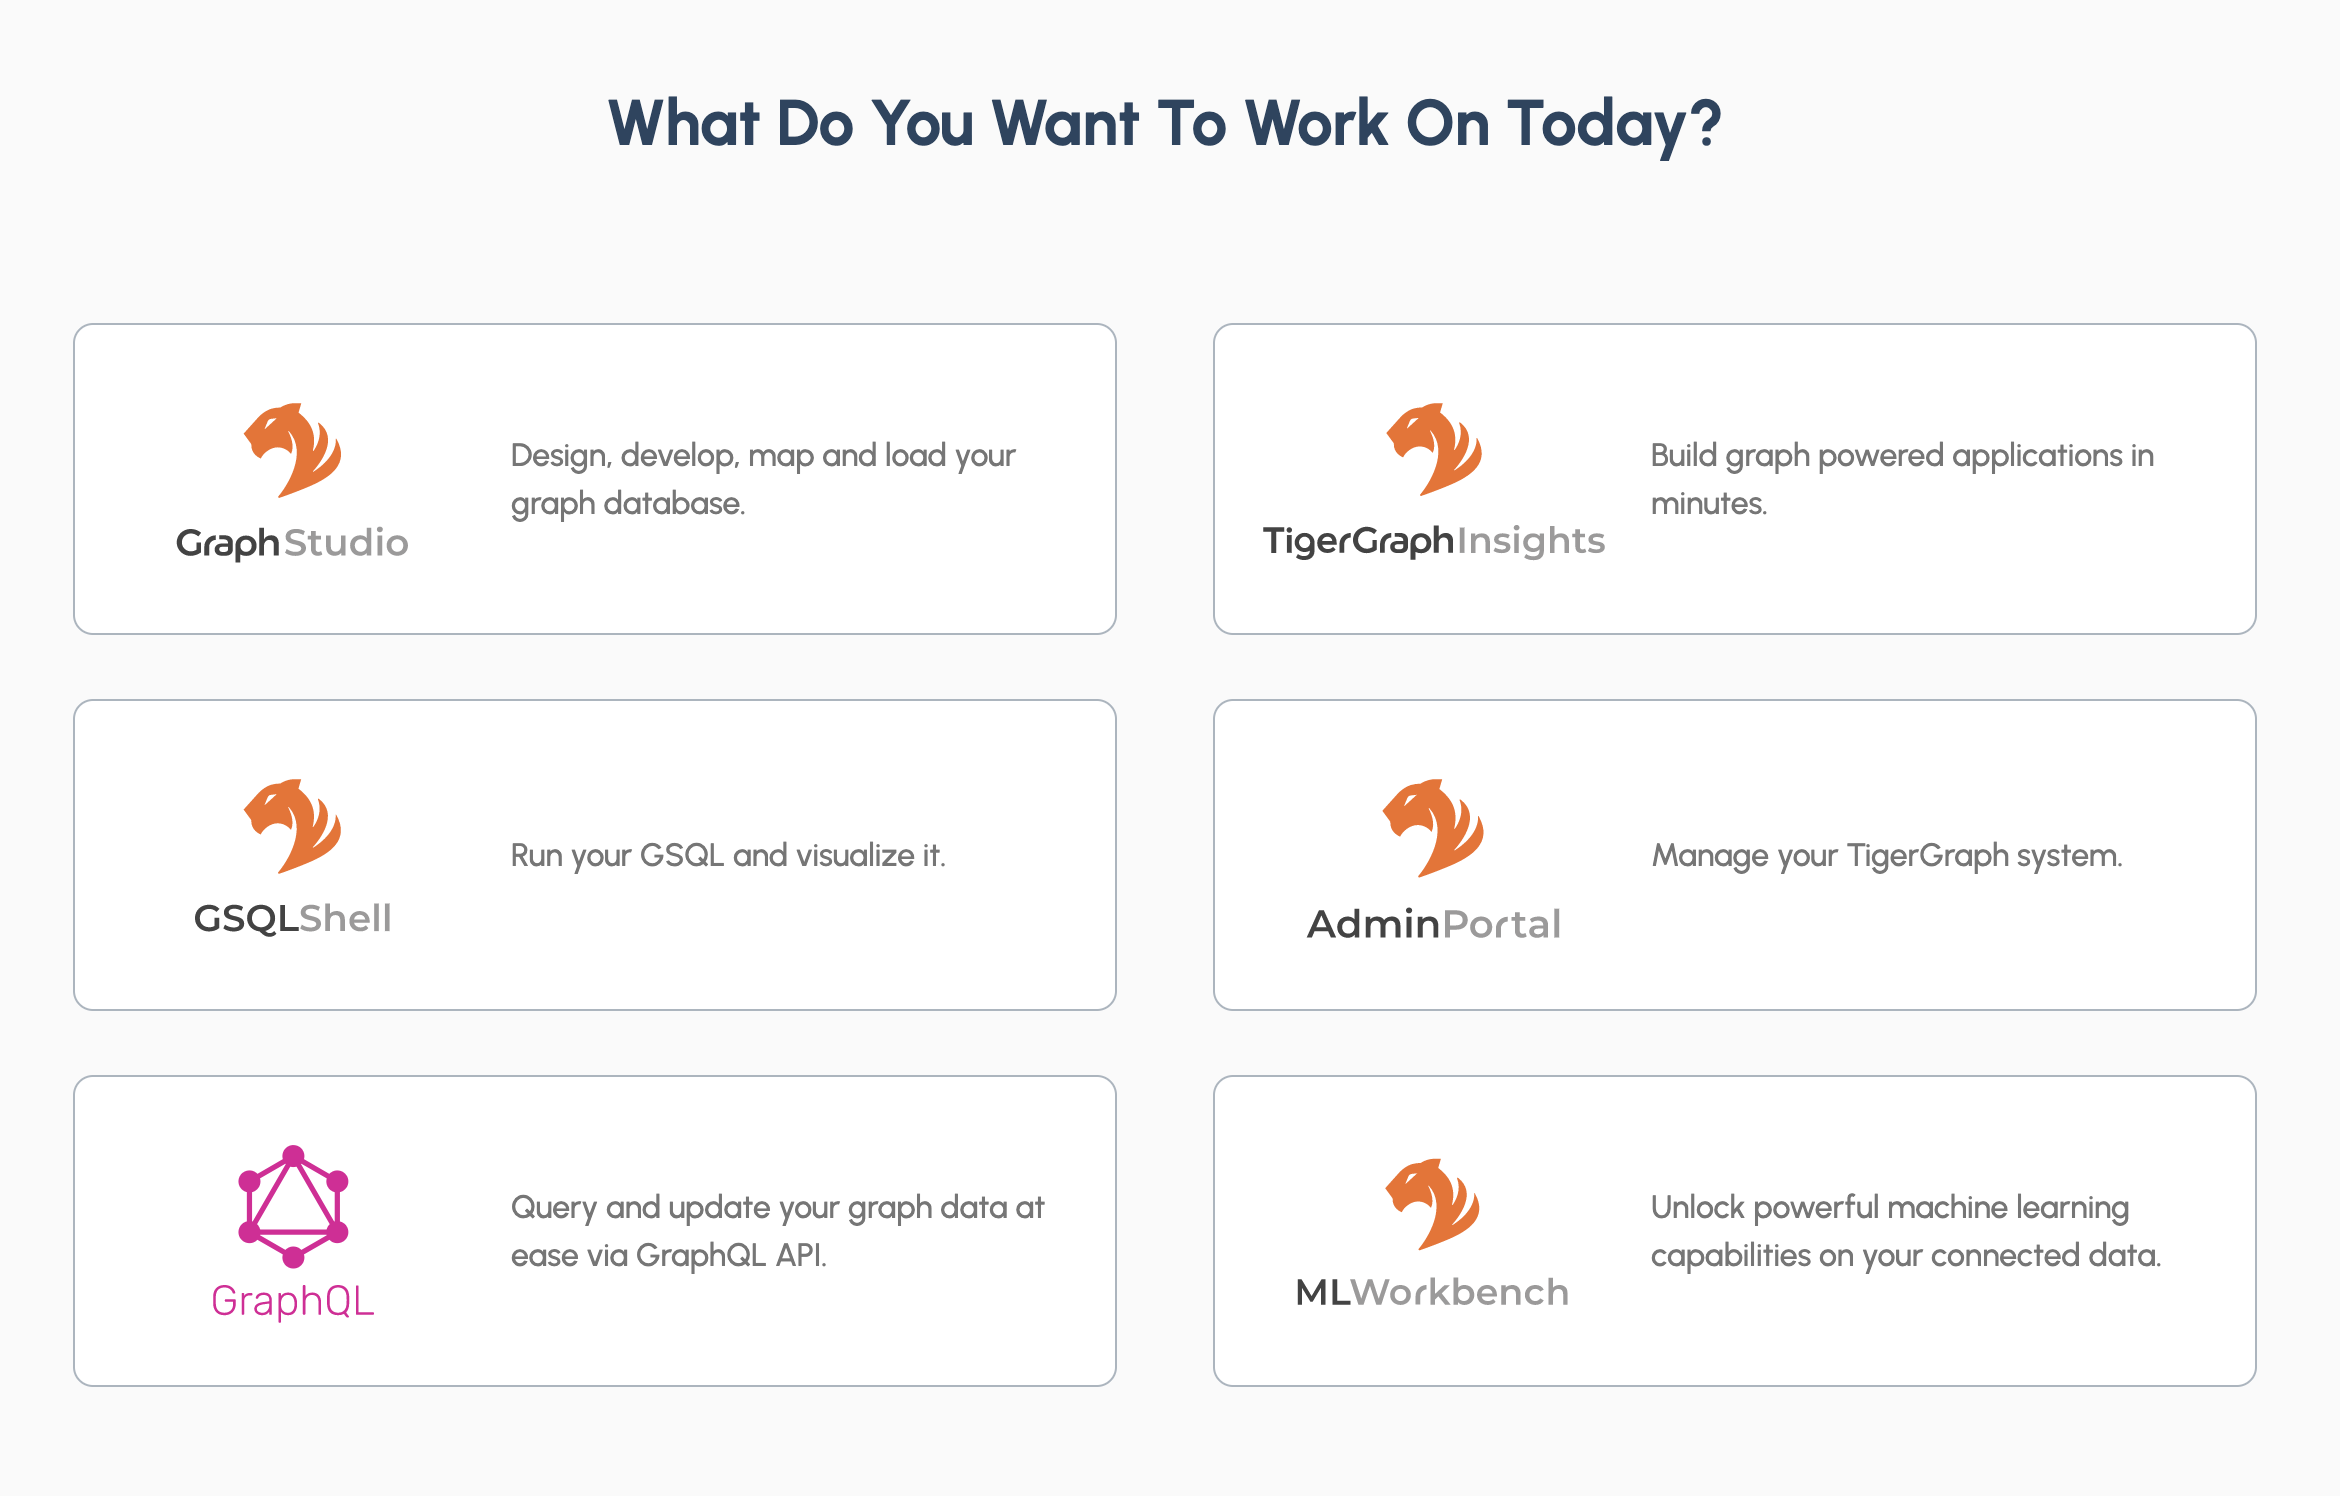
From the Tools dropdown menu, choose btn:[Machine Learning Workbench].
Alternately, you can view a list of all clusters by going to the Tools menu on the left (or any nine-dot TigerGraph Suite button) and going to ML Workbench. These options only appear with Machine Learning Workbench-enabled clusters running TigerGraph version 3.8.0 or newer.
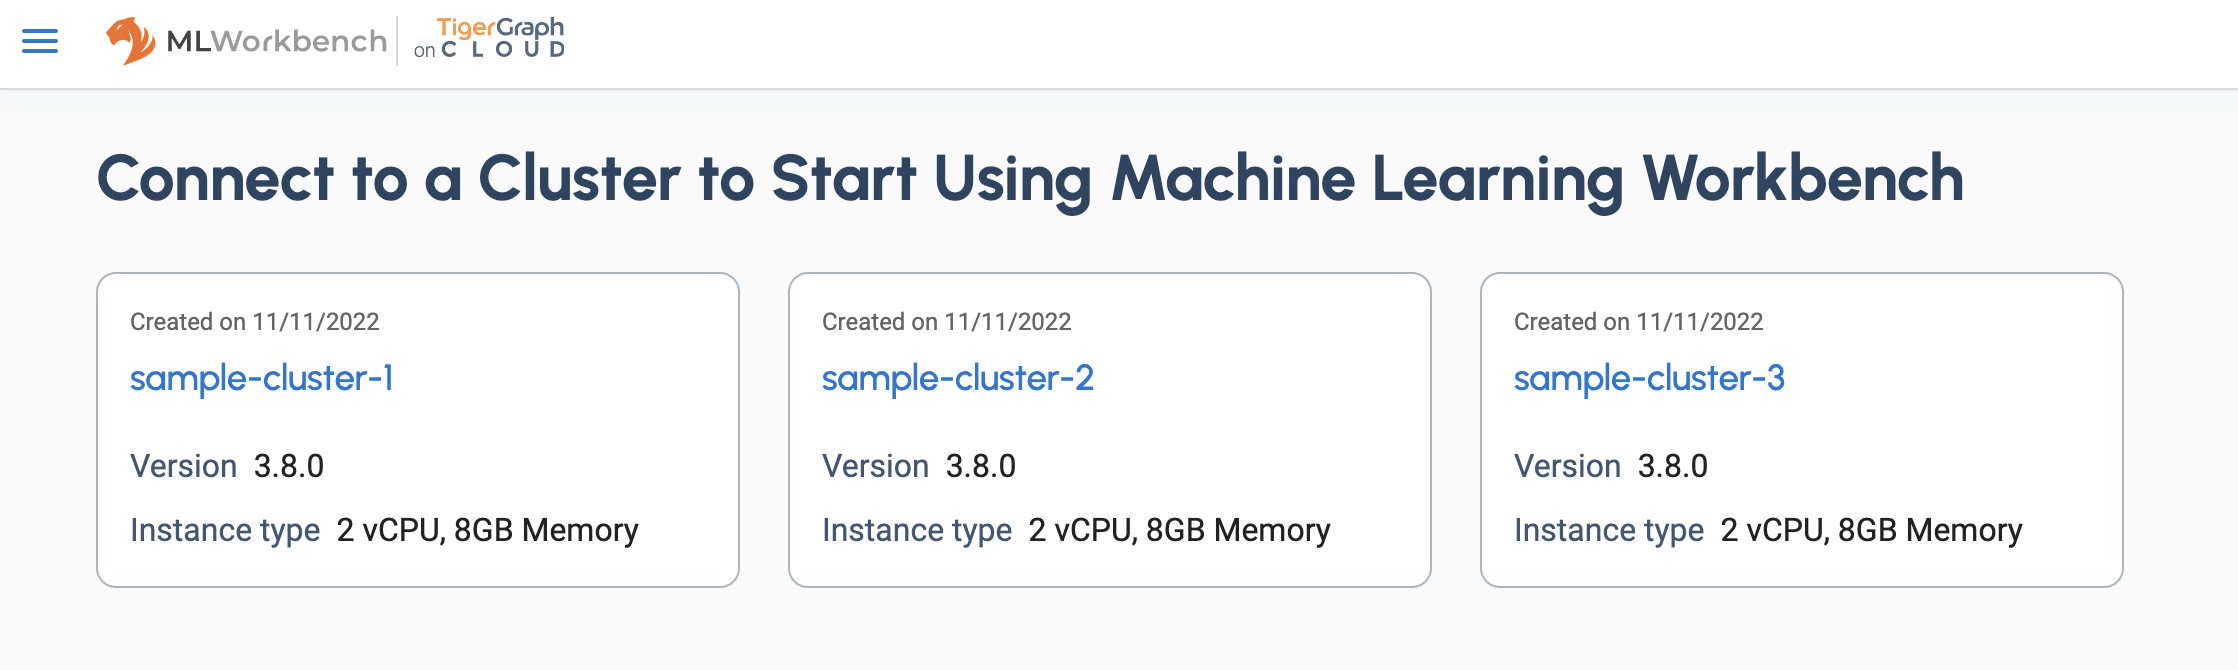
Click on btn:[ML Workbench] to see a list of clusters with ML Workbench enabled.