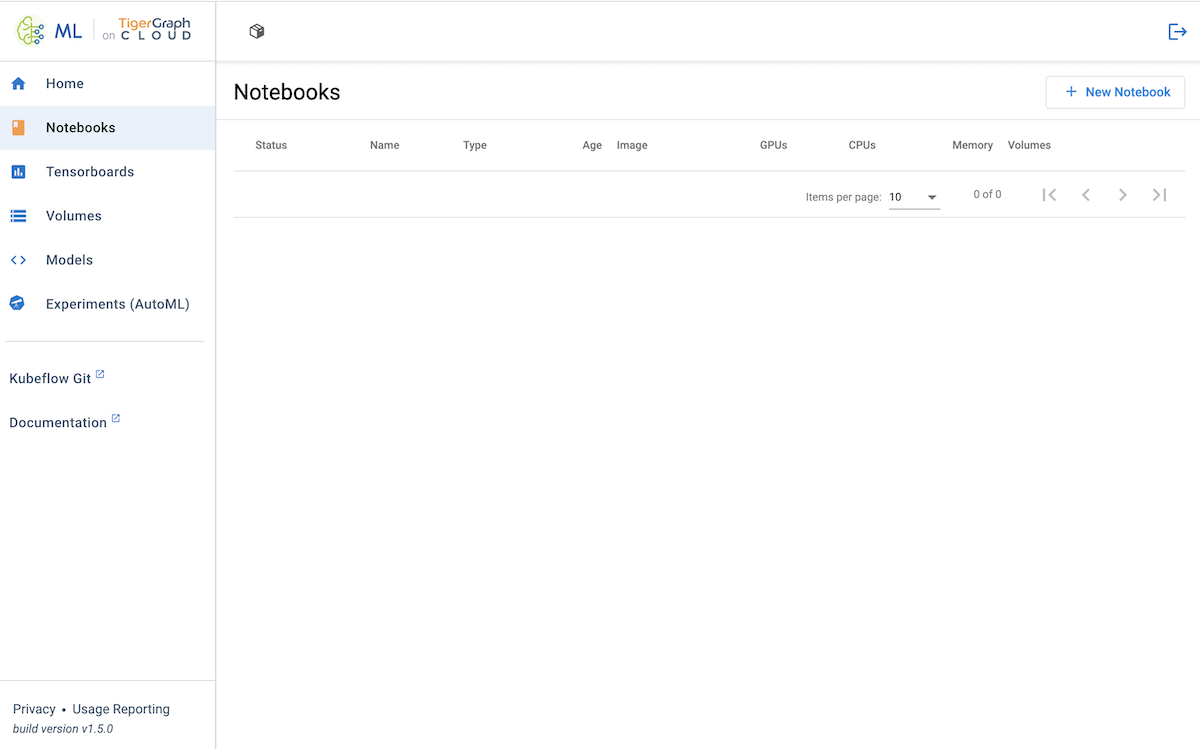
Notebooks
Jupyter Notebooks on ML Workbench are web-based development environments run inside a Kubernetes cluster.
The ML Workbench notebooks are Kubeflow notebooks, so setting them up follows the same principles as outlined in the Kubeflow Quickstart Guide.
Prerequisites
In order to connect an ML Workbench notebook to a TigerGraph Cloud solution, your TigerGraph Cloud account must have access to the solution. If you are an Organization Member on TigerGraph Cloud but without access to any solutions, you will be able to create notebooks, but they will not be able to connect to TigerGraph Cloud.
Setup
-
Click + New Notebook at the top of the list of notebooks
-
Enter your name
-
Choose a Docker image from the preset choices or enter the URI for another one
-
Enter the computational resources (CPU/RAM/GPU) for your notebook
-
Configure storage (Workspace Volume)
-
(Optional) Configure additional data volumes
-
Load pre-prepared configurations if applicable
Provisioning a notebook and making it accessible takes a few minutes.
Using a Notebook
Using a notebook hosted on ML Workbench Cloud is the same as using a notebook set up from scratch using a local installation of ML Workbench.
When you open a notebook, you should see a connection to the TigerGraph database available on the left side. If this does not appear, ensure that you have access to a TigerGraph Cloud solution.
Follow the Tutorials to learn more and explore the capabilities.