Migrate From Relational Database
Migrate from relational database
Starting from 3.0, you can easily migrate your relational database into TigerGraph database without having to write a single line of code!
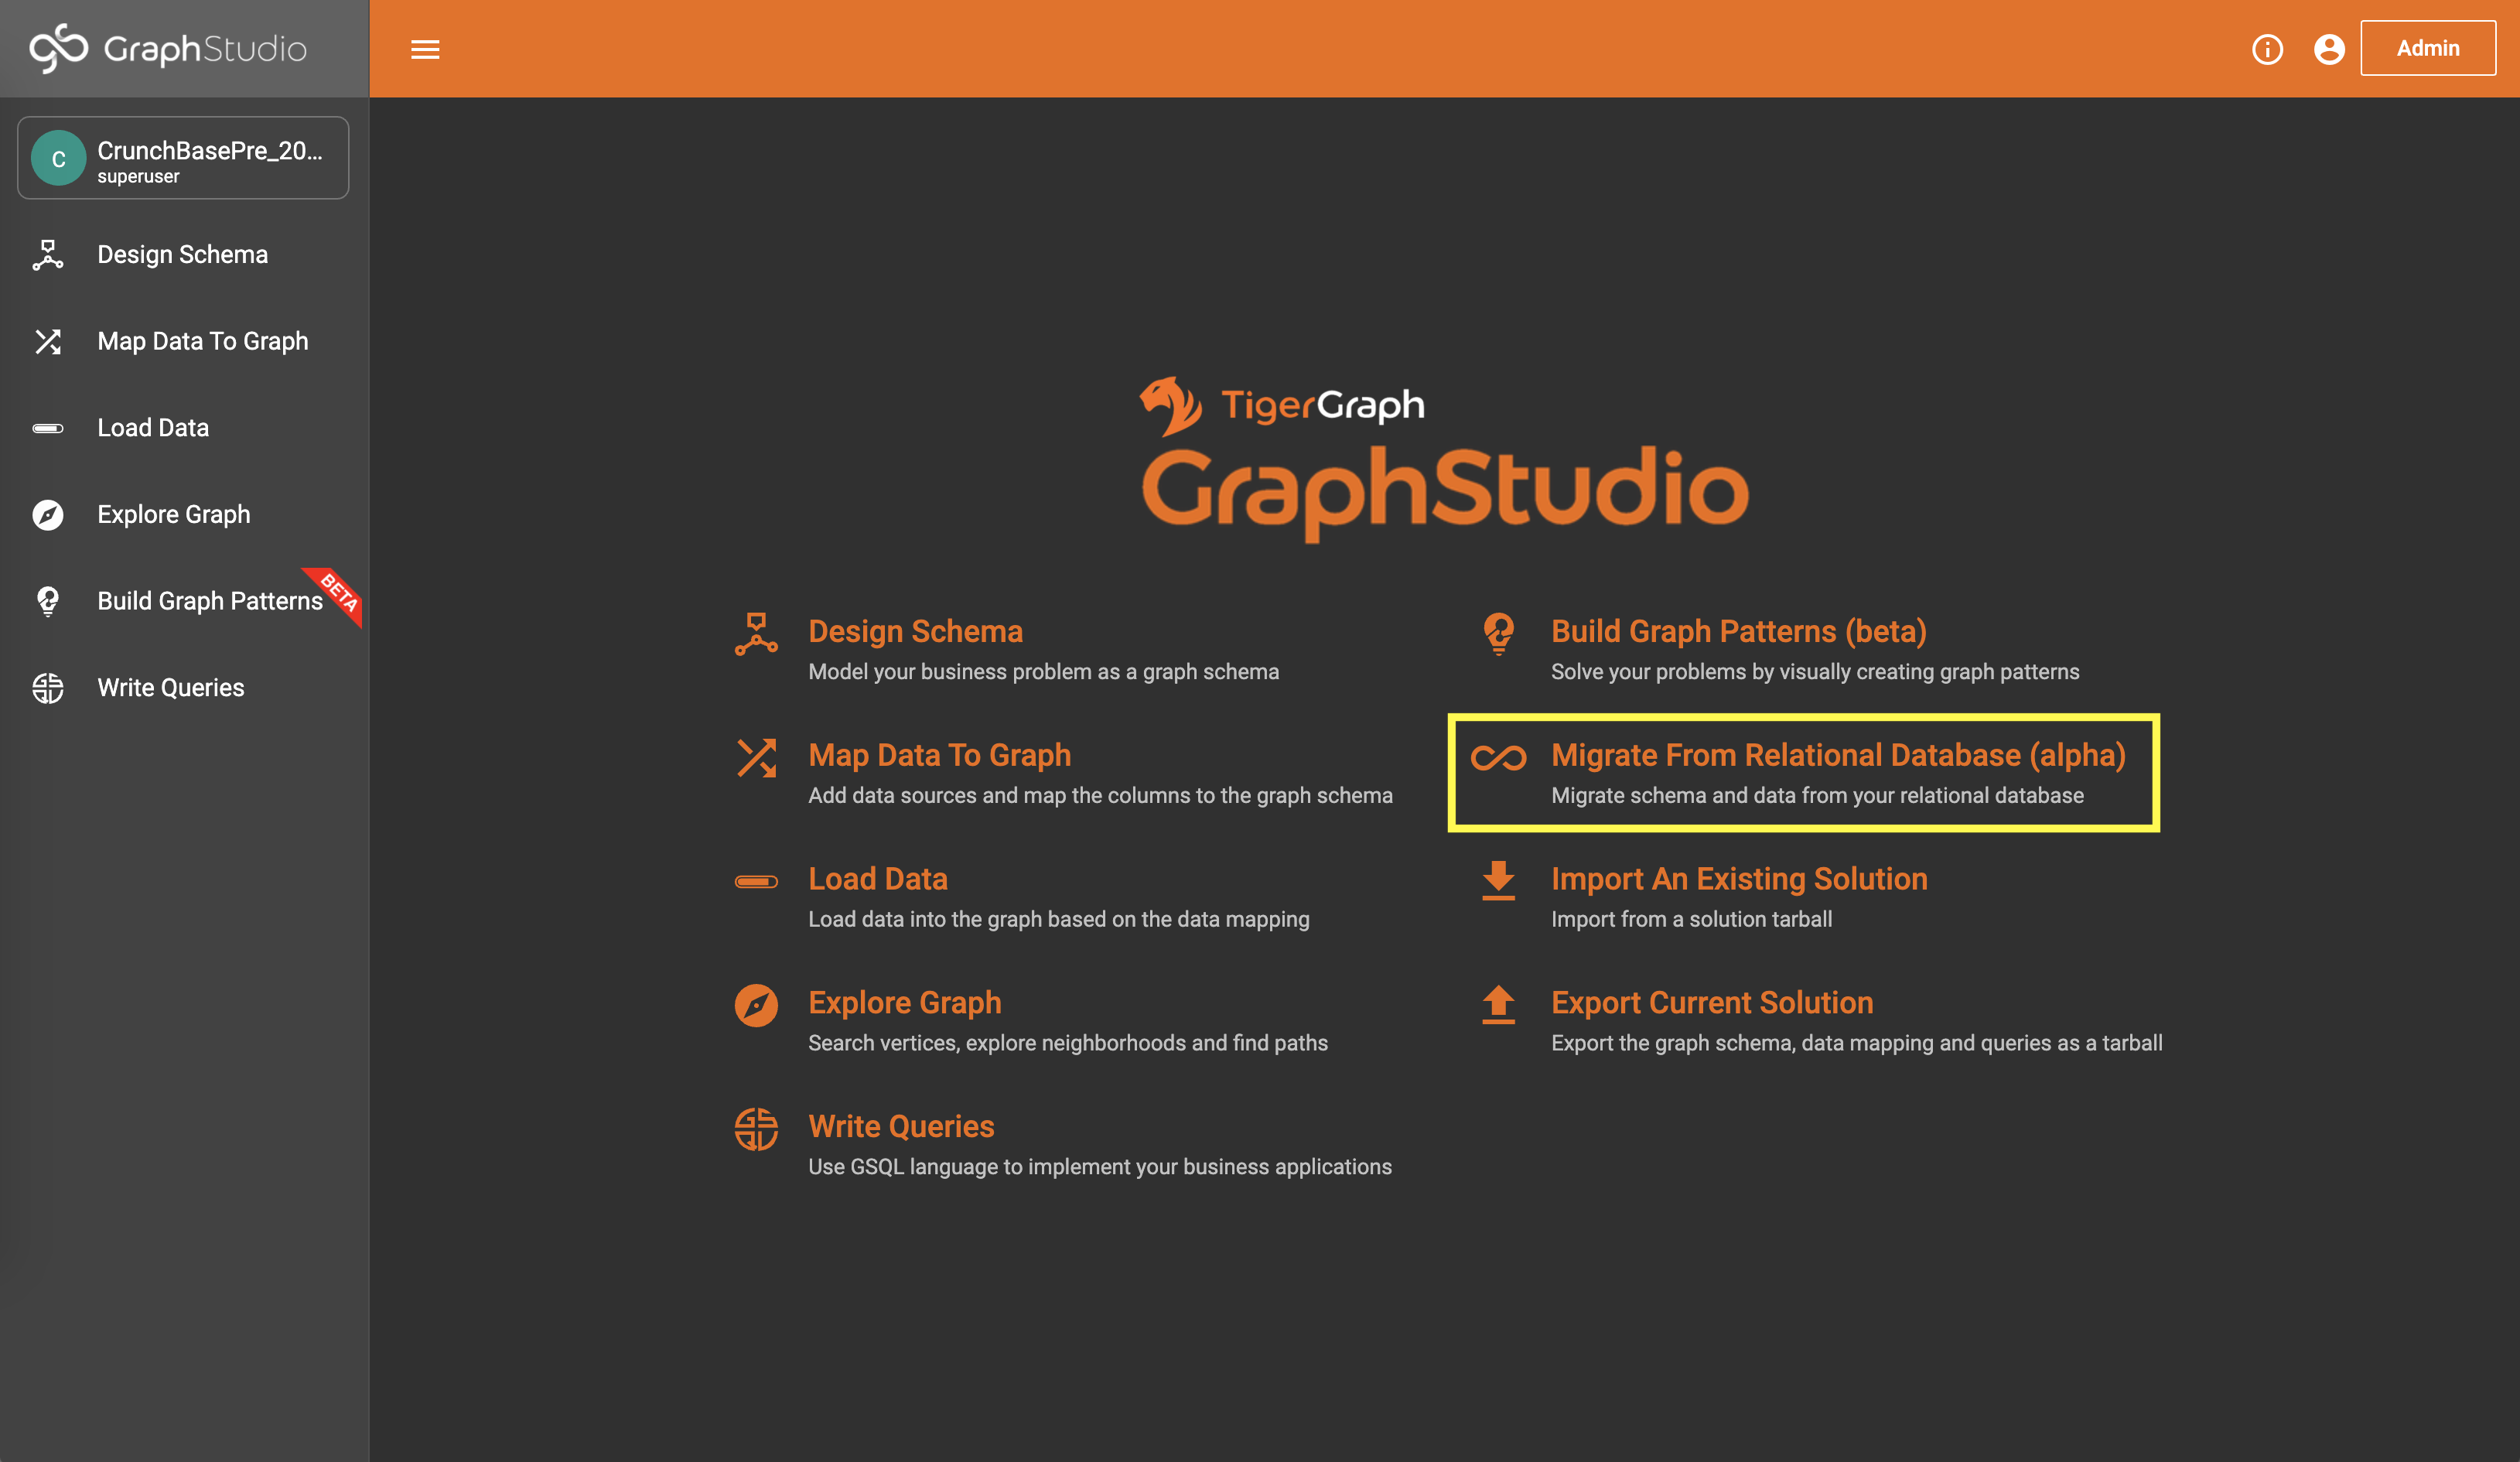
At GraphStudio home page, click the Migrate From Relational Database link to start the process.
Step 2. Input connection information
Provide the credentials to connect to your relational database and specify which database you want to migrate from.

Step 3. Choose tables/attributes to be migrated
GraphStudio will connect to your relational database and retrieve all the table schemes of the database. You can choose which tables and which attributes of each table you want to migrate. By default, everything will be migrated.

Step 4. Configurations
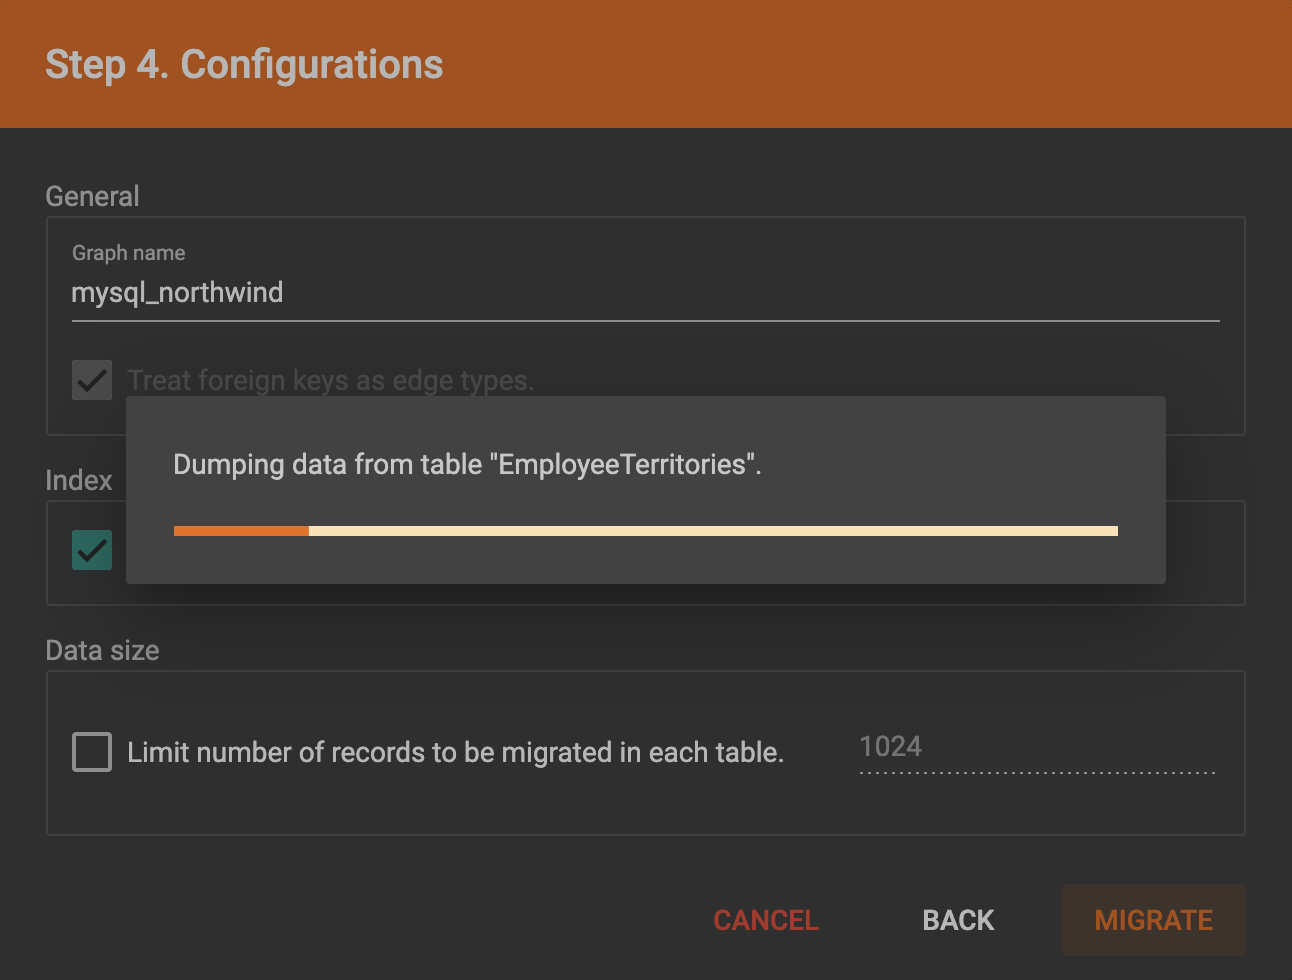
You can set the migrated graph’s name. By default, it will be your RDBMS type concatenated with the database name. You can choose to create index for the attributes if an index exists in the relational database. You can also choose to only migrate the top several records of each table (by default the whole dataset will be migrated).
The foreign keys will be treated as edge types. This is the fixed migration rule we are using. In the future we will provide more migration rules for you to choose.

Step 5. Start migration
The migration will take a few minutes, after which a new subgraph will be created.
|
The data from the RDBMS will be imported to the server’s filesystem before being loaded into TigerGraph database. Please make sure that the server has enough disk space! |
Verify Migration Result
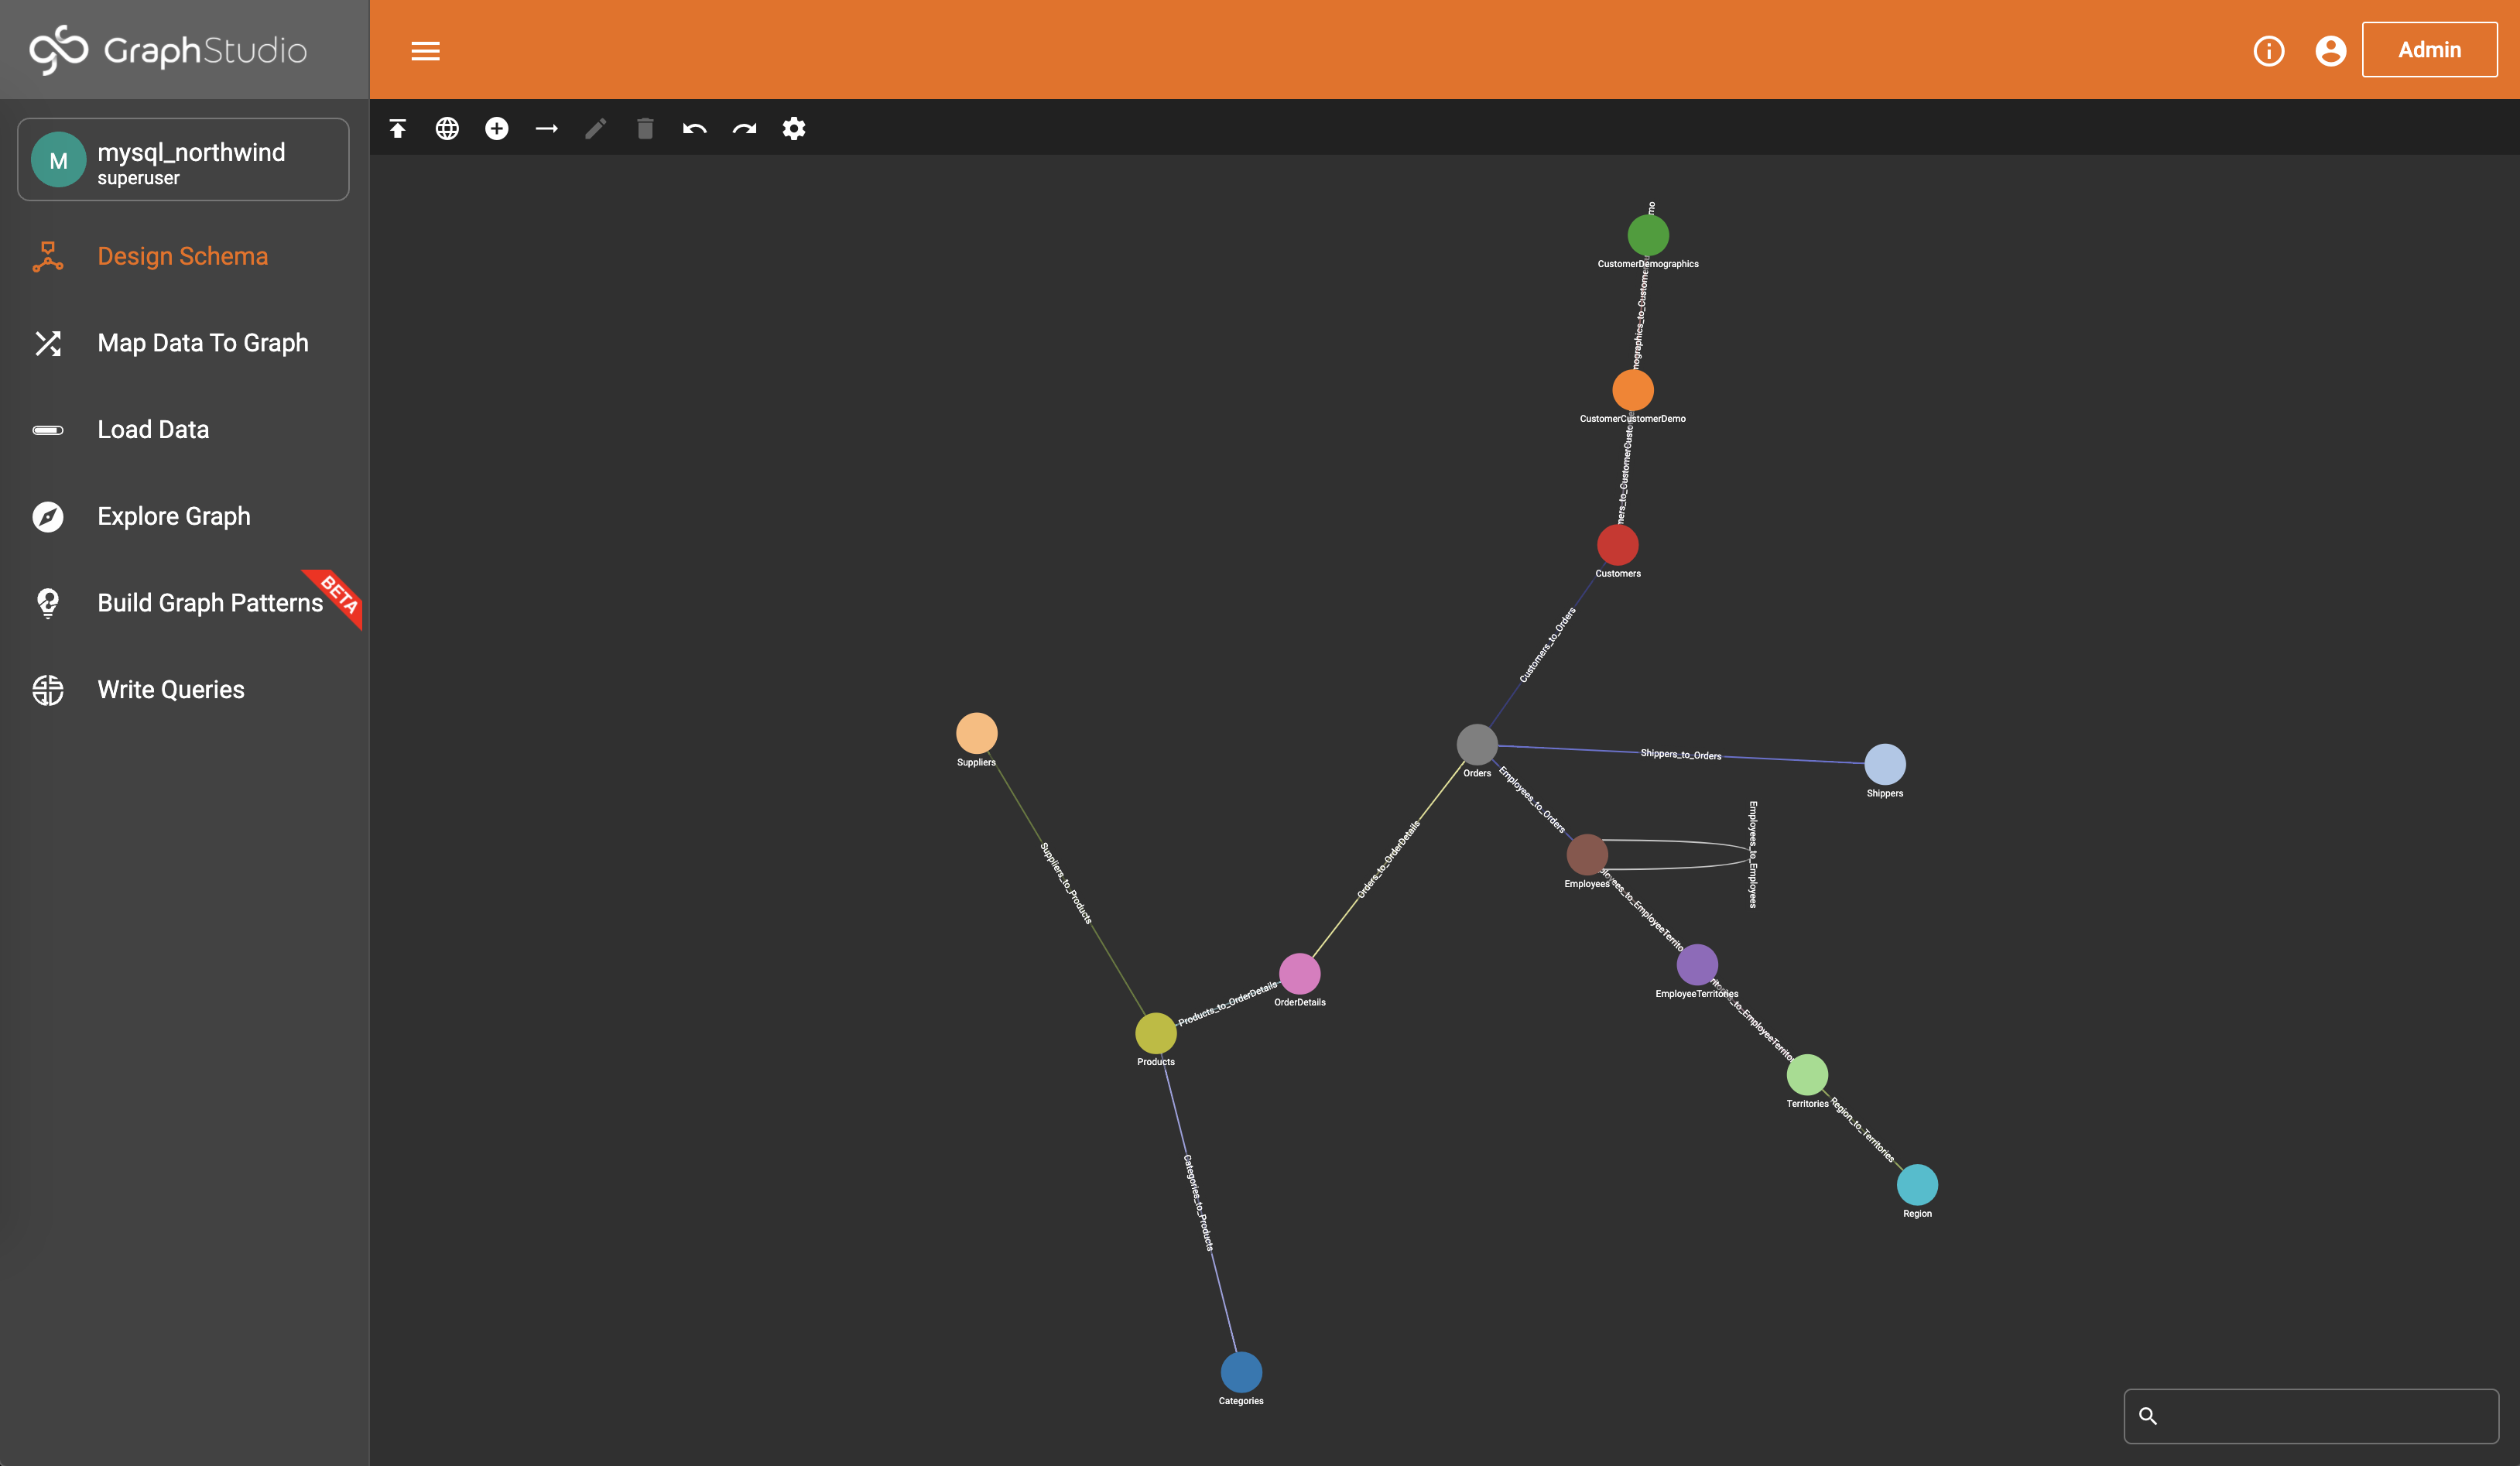
After migration, look over the auto-generated schema and make appropriate modifications.
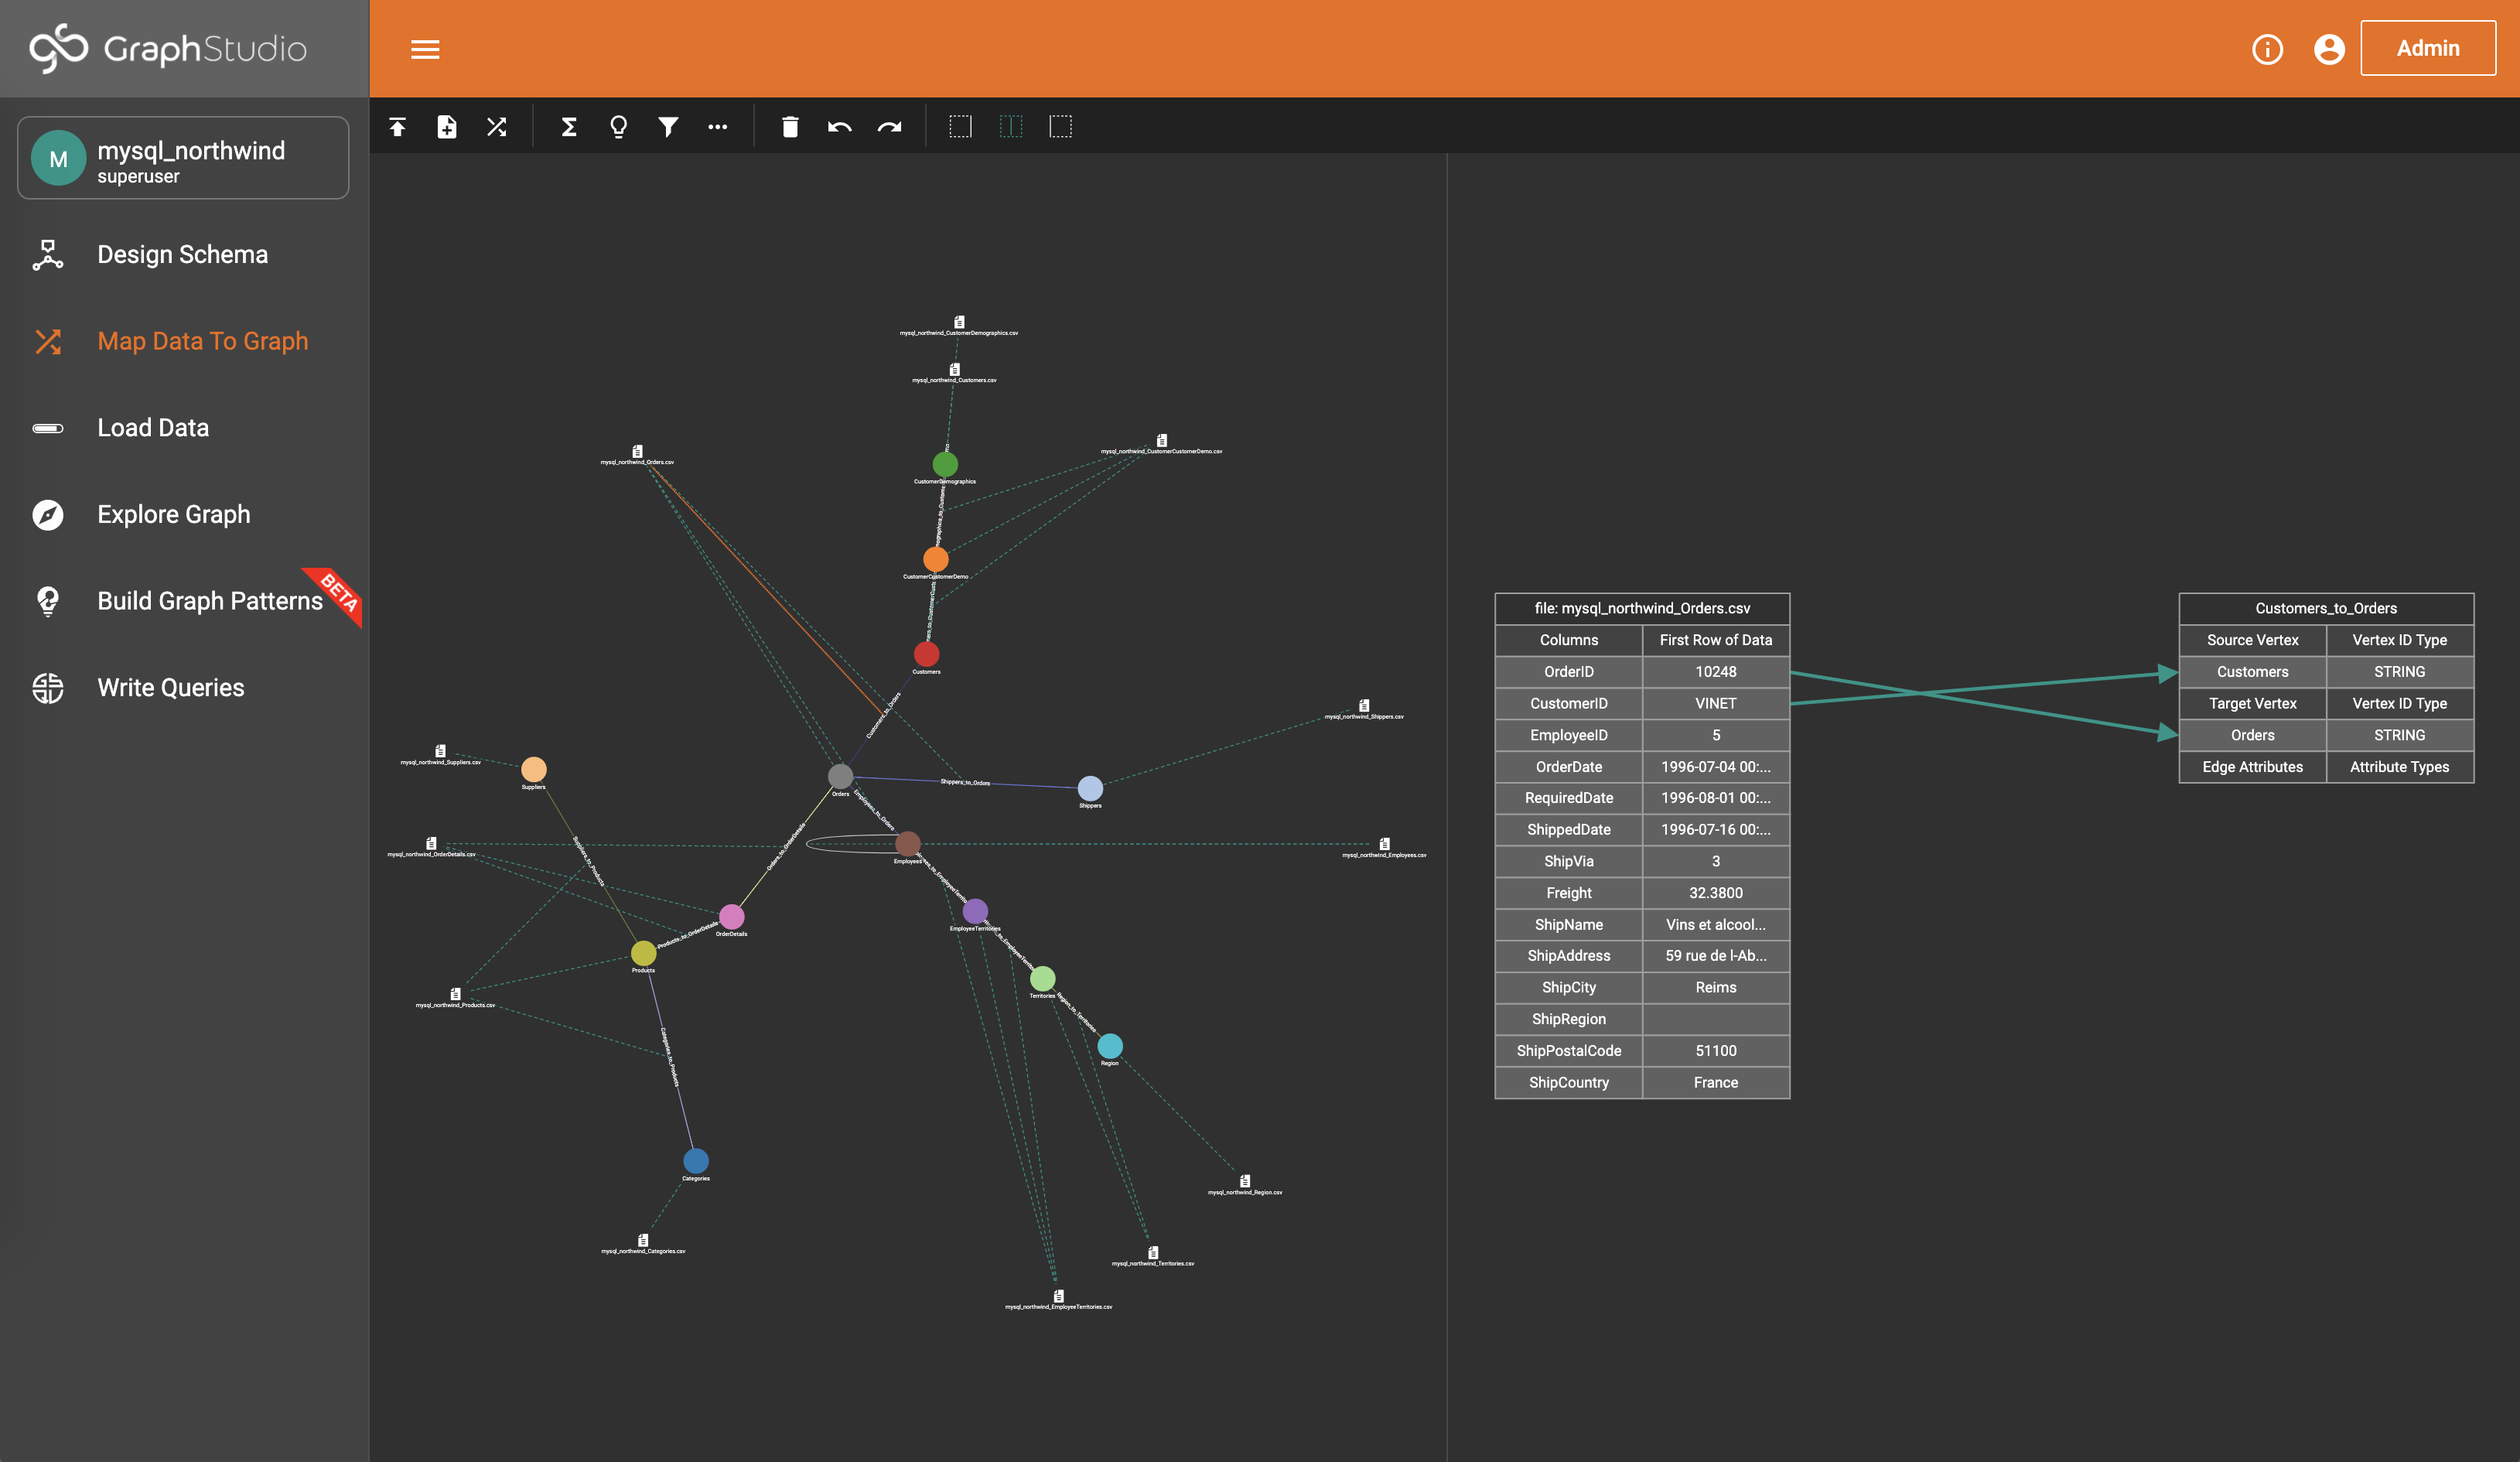
Then go to the Map Data To Graph page and check the auto-generated data mapping.
Then go to Load Data page and load the data into the graph.
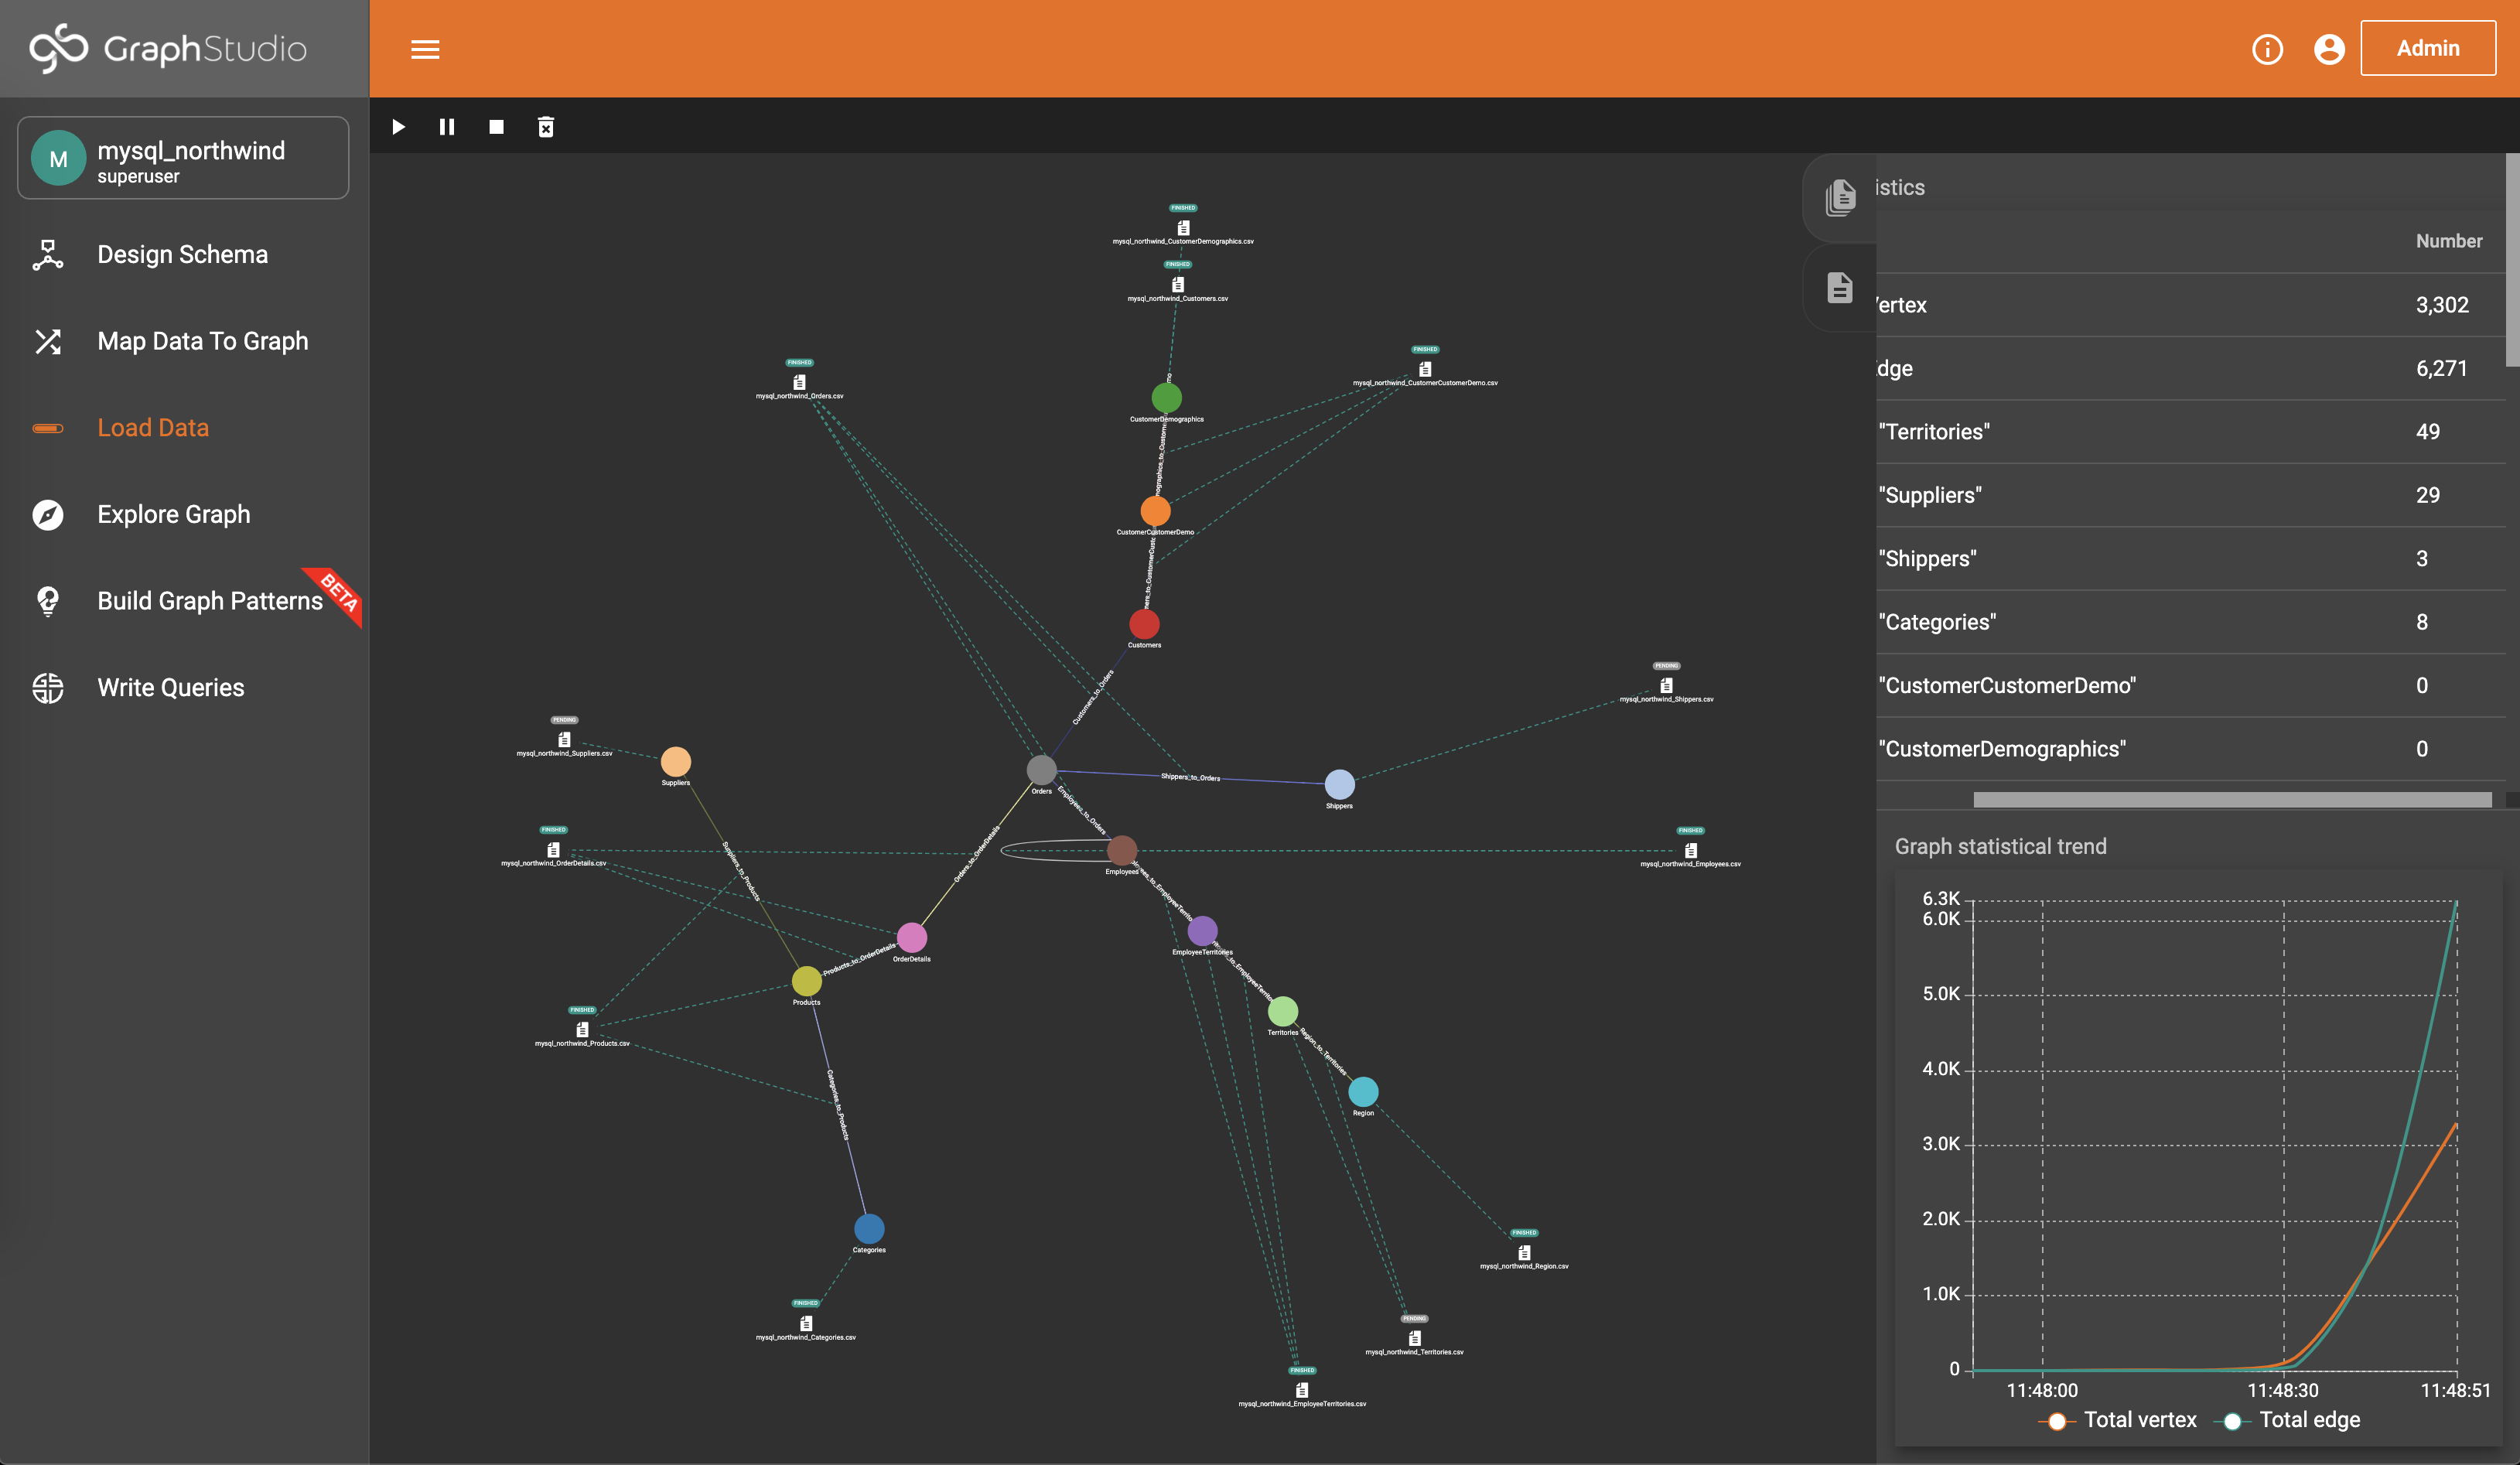
Your data is now successfully loaded. You can now go on to write queries and explore the graph.
